Whether you’re a classic nail polish fan or a fan of semi-permanent manicures, there’s one golden rule that pros never break: a successful manicure always starts with proper nail prep. Filing, pushing back cuticles, buffing the surface, cleaning the nail… This simple and essential routine not only enhances the final result, but also prolongs the wear of your polish and protects your nails. So, we’ve put together a complete guide for perfect nails, ready to accompany you through all your manicures.
Why should you prep your nails before applying nail polish?
Because a nail is a bit like a blank canvas: the cleaner it is, the cleaner and longer-lasting the result. Proper preparation helps to:
- Smooth the nail surface to facilitate the application of polish layers
- Improve the adhesion of the base coat and polish by opening the keratin scales
- Remove dead skin around the nail
- Avoid bubbles, smudges, and chips
- Prevent splitting and breakage
- Perfect your manicure with a polished look
An essential step that shouldn’t be overlooked, regardless of the type of polish used next, because the quality of the application largely depends on the preparation!
The right steps for flawless preparation
Here is the ideal 4-step routine:
Step 1: Structure and file gently
First of all, start by defining the nail shape that suits you. Square, oval, almond, or round, not sure which nail shape to choose? Check out our article to find the shape that best suits your hands. And to learn how to properly use a nail file, we’ll tell you everything in this article. Let’s get hands-on:
The equipment you need:
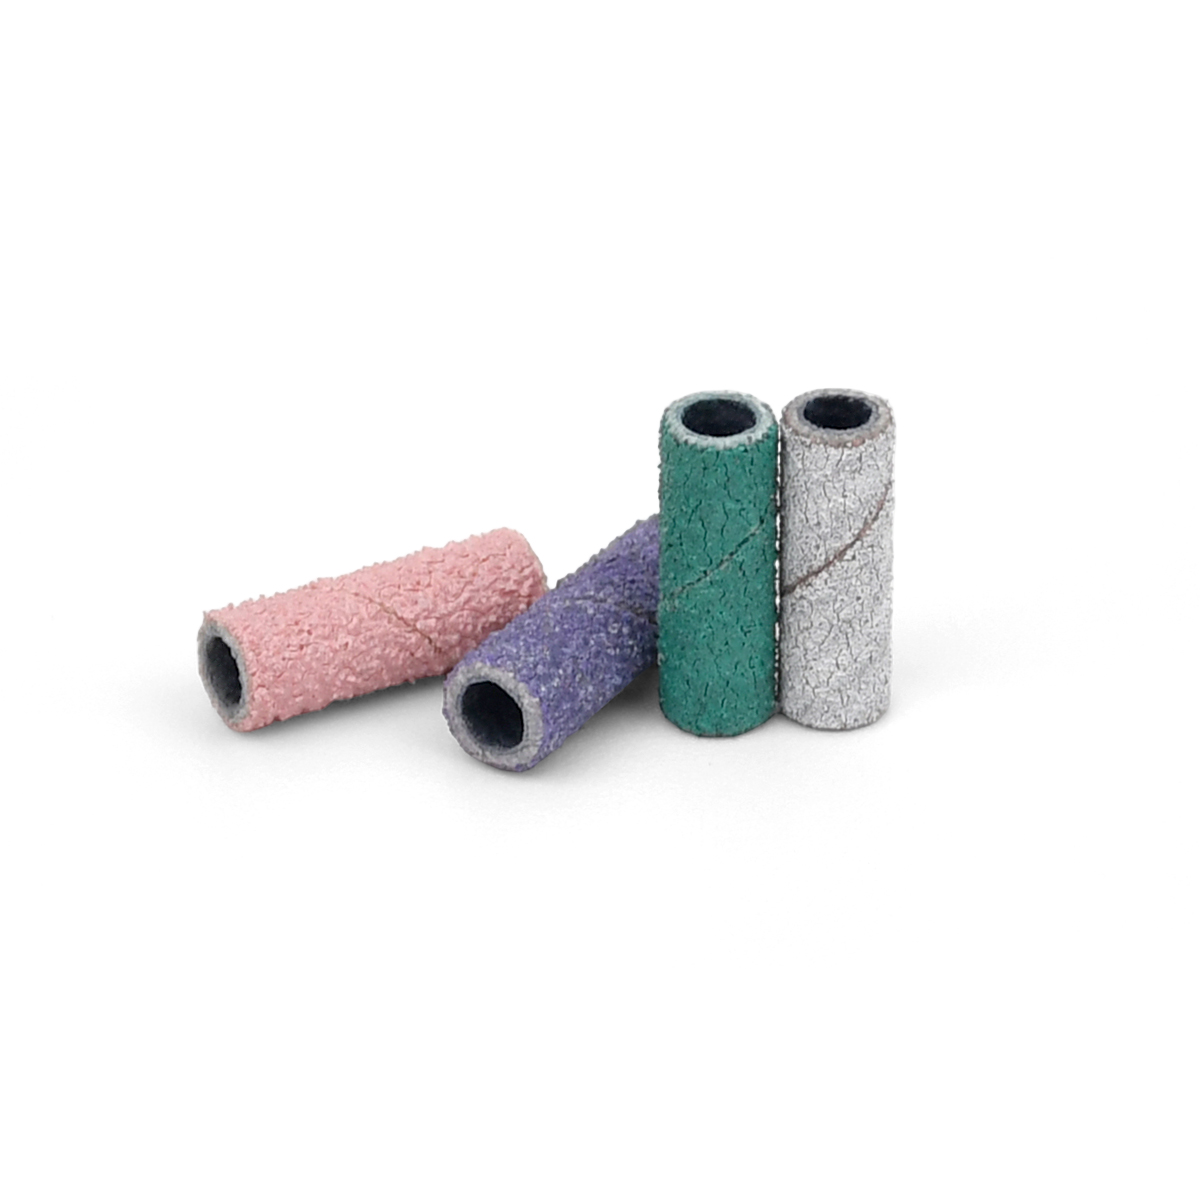
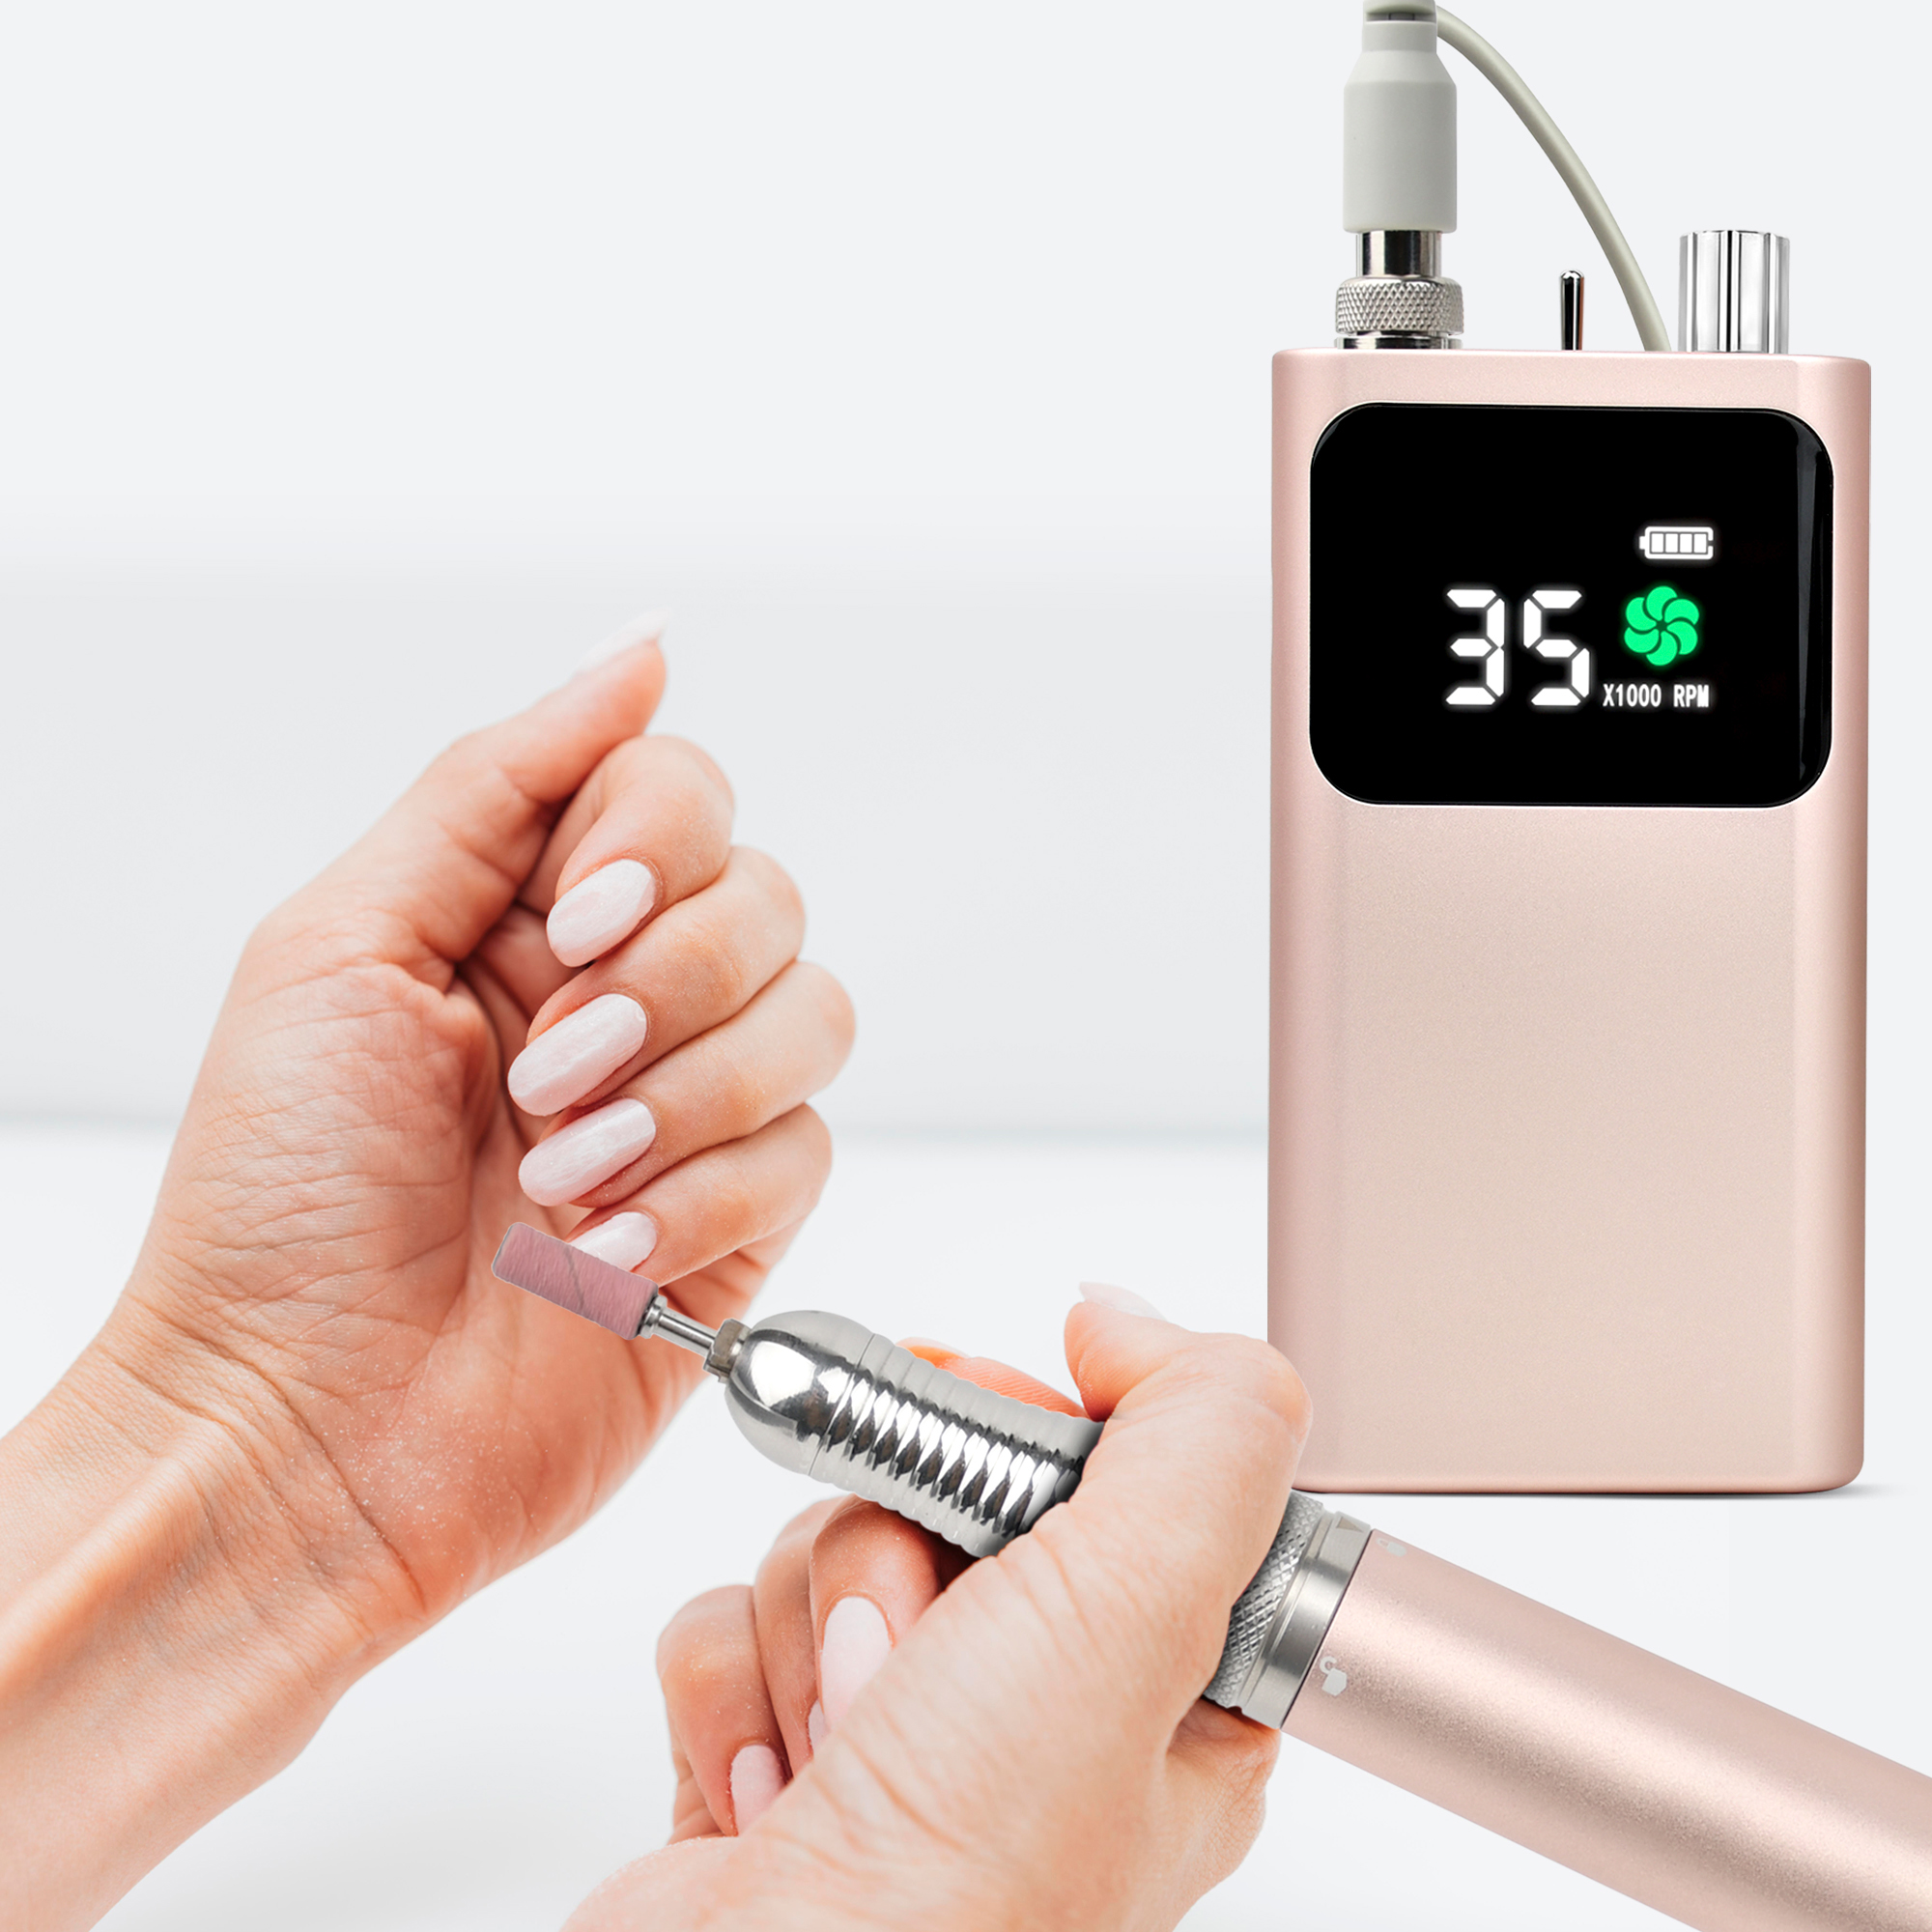
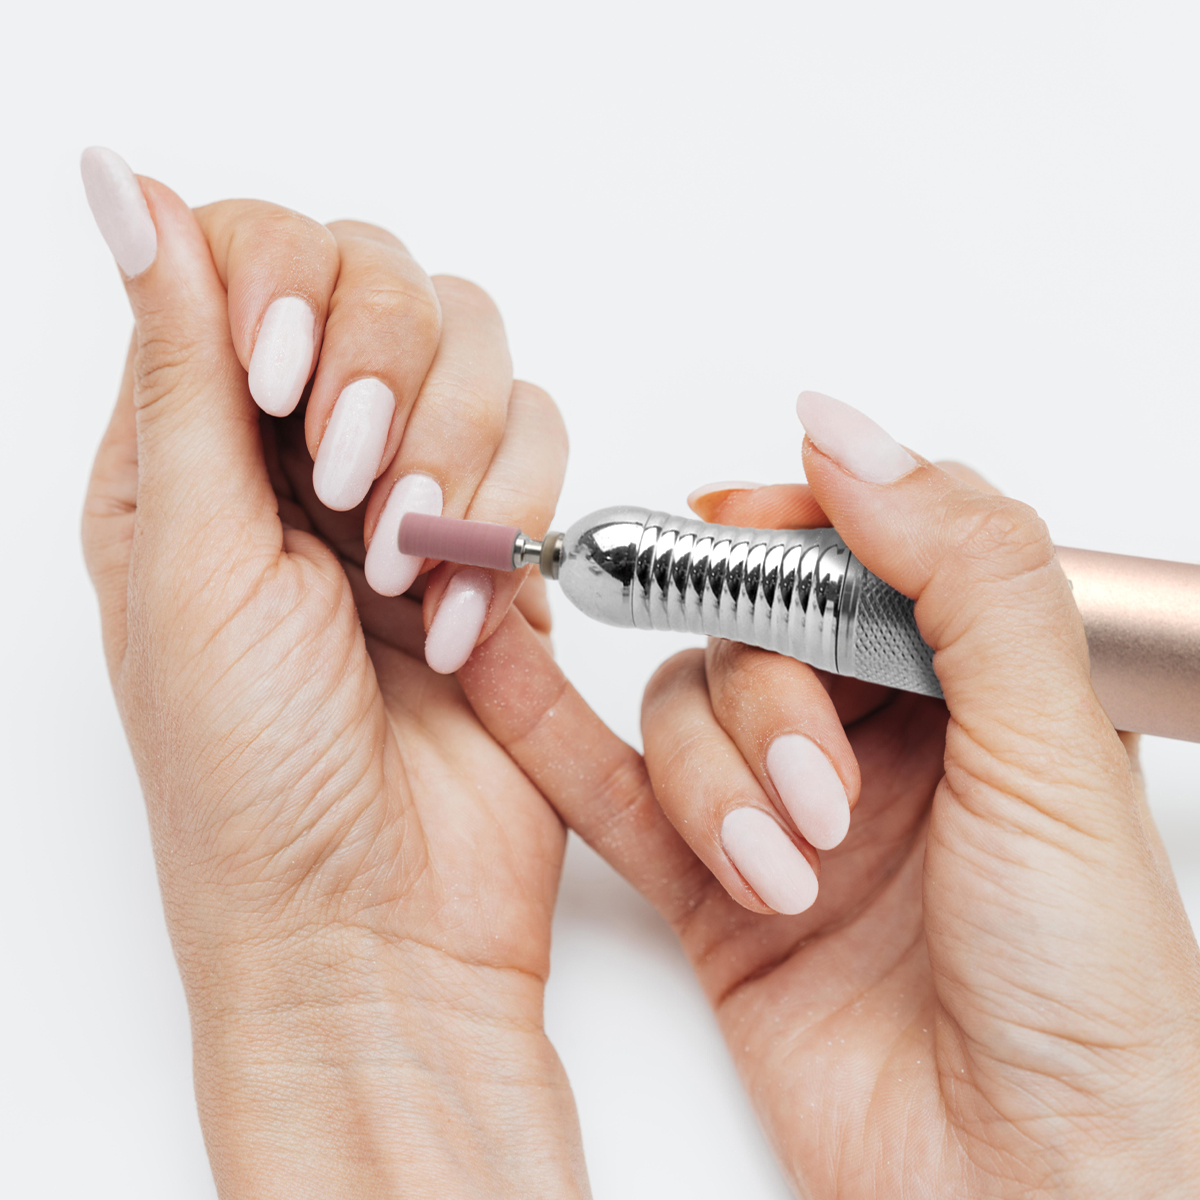
- The natural nail file: The classic one, with two grit types (100/180) for shortening and shaping.
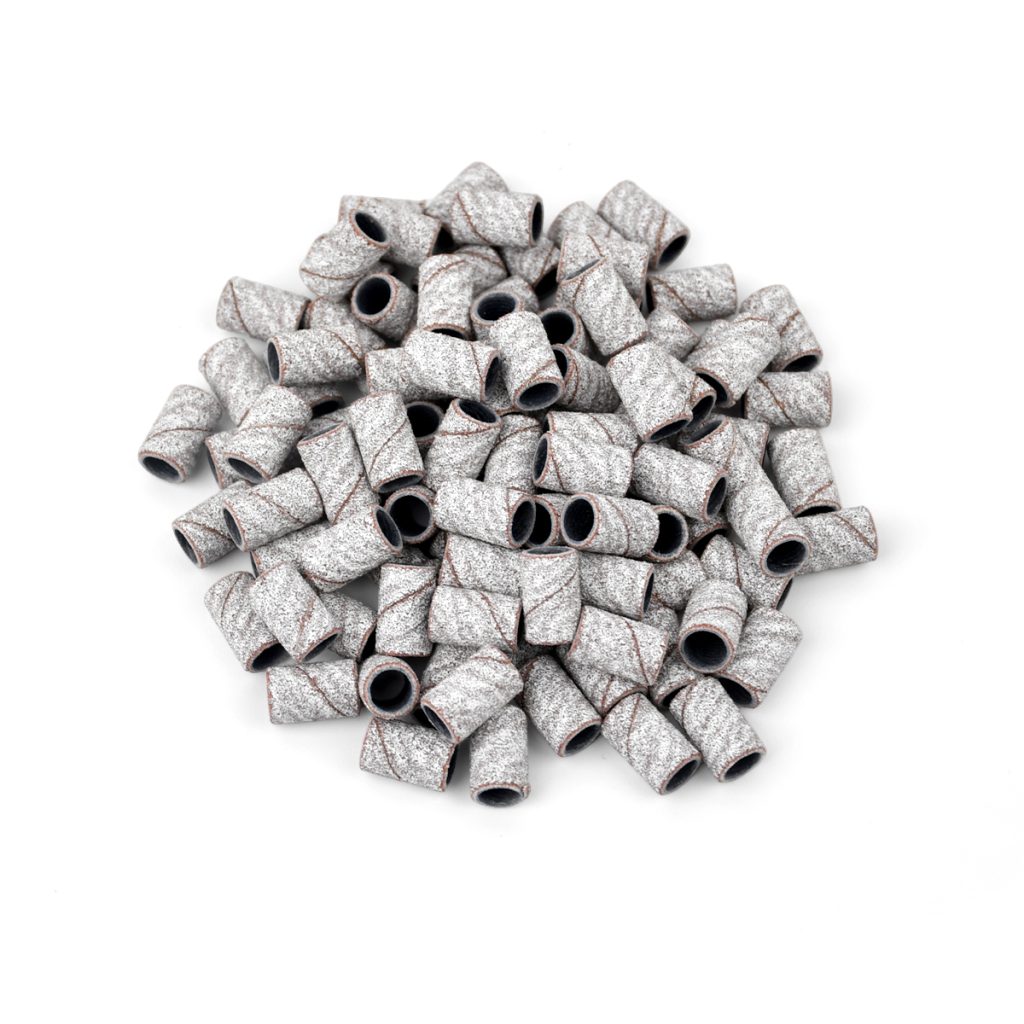
- or the Electric Nail Drill: Lightweight and portable, the sanding bands of various grit sizes are designed for normal to fragile nails, making them easy to hold and providing better sanding results.
Instructions: Hold the file perpendicular to the nail and start from the outer edge and work toward the center, always in the same direction. Then do the same on the other side of the nail. Finish by filing the edge (top of the nail) to harmonize the shape.
Important: It is recommended to file unidirectionally, meaning always in the same direction, to respect the keratin layers. If you have fragile nails, file under the edge to avoid splitting.
Step 2: Gently soften and push back the cuticles
Cuticles are the small pieces of skin that line the nail and protect the matrix. If left as they are, they create irregularities that can hinder nail polish application or even prevent it from sticking. It is therefore important to push them back to maintain a clean nail edge, while being careful not to damage them to preserve their function as a shield against the risk of infection and other external germs.
What you’ll need:
- A few drops of cuticle oil
- A steel or glass cuticle pusher or a wooden stick
- Nippers (optional)
Steps to follow: Start by softening the cuticles by applying a drop of cuticle oil to the base of each nail and leaving it on for 2 minutes. Gently push back the cuticles using the round end of a cuticle pusher or a wooden stick, in the opposite direction of nail growth and without going back and forth to avoid damaging the nail plate. Remove any dead skin and, if necessary, gently trim it with the nippers. Be careful to only trim the excess and not too close to the edge!
Pro tip: Do this once a week to maintain clean edges and prevent stubborn skin.
Now that the edges are flawless, it’s time to take care of the surface of your nails.
Step 3: Smooth and buff the surface without weakening it
Nails deserve a little scrub too! This step unifies the surface, smooths out ridges, and optimizes the adhesion of the polish. This buffing process opens the keratin scales, which facilitates the adhesion of the base coat and ensures better hold of the polish.
The equipment you need:
The nail buffer, a magical tool with a sponge-like texture that gently removes small irregularities on the nail surface.
Steps to follow: Lightly buff the nail plate, always in the direction of nail growth (from the base to the edge), and no more than once every two weeks to avoid weakening the keratin. Use the fine grit (logo side) for fingernails and the coarse grit (opposite side) for toenails.
Step 4: Clean and degrease for long-lasting wear
The final step: remove all impurities, grease residue, and other dust from previous steps that could hinder the application of subsequent coats of polish. In short, let’s do a major cleanup!
The equipment you need:
- A dusting brush
- Nail polish remover
How to do it: Gently wipe each nail with a dusting brush until it’s perfectly clean. Then, soak a cotton ball in a little nail polish remover, depending on the type of polish you’re applying, to thoroughly clean without drying out your nails.
Now that your nails are prepped, they’re ready for a new color. Whether you choose semi-permanent nail polish or gel nail polish, this simple routine makes all the difference. Try it now!