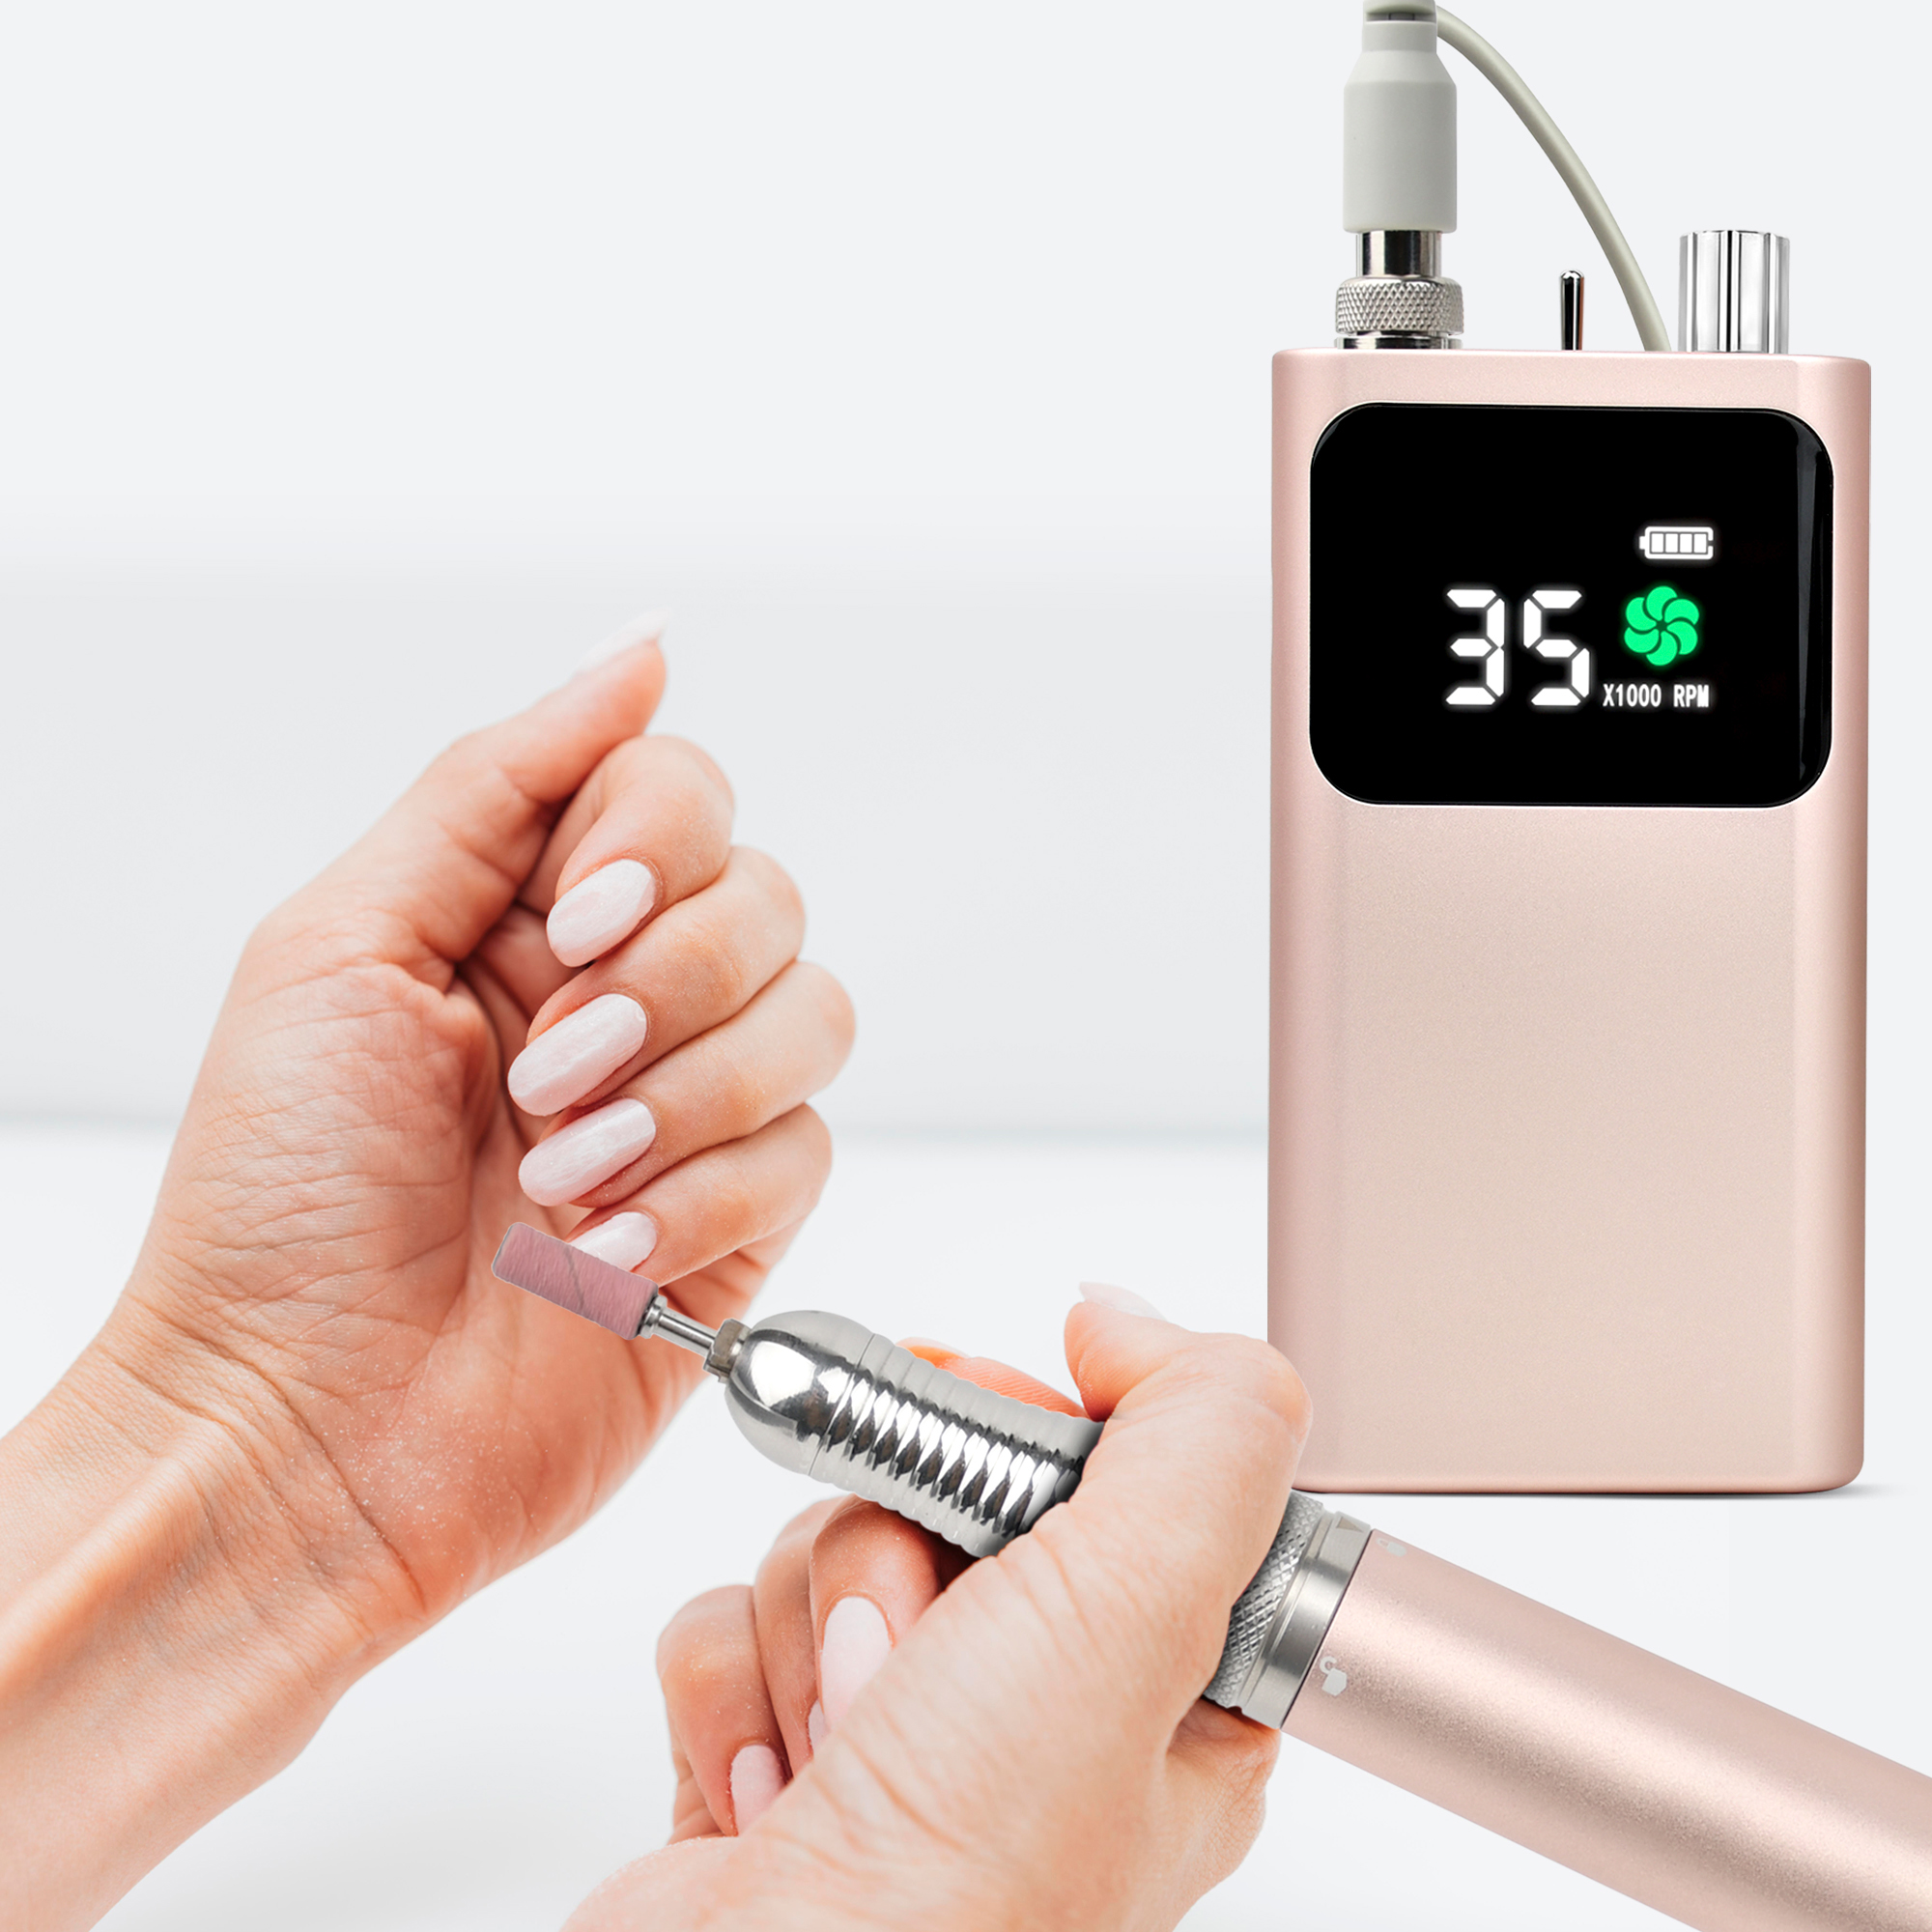
In the world of modern nail care, whether at a professional salon or in a home kit, the electric nail drill is a game-changer. But the real magic lies not just in the machine itself, but in its attachments: the nail drill bits. These small, precision tools are the key to efficient, safe, and professional-looking results. Understanding them is crucial for anyone looking to master nail enhancements and care.
Common Types of Nail Drill Bits
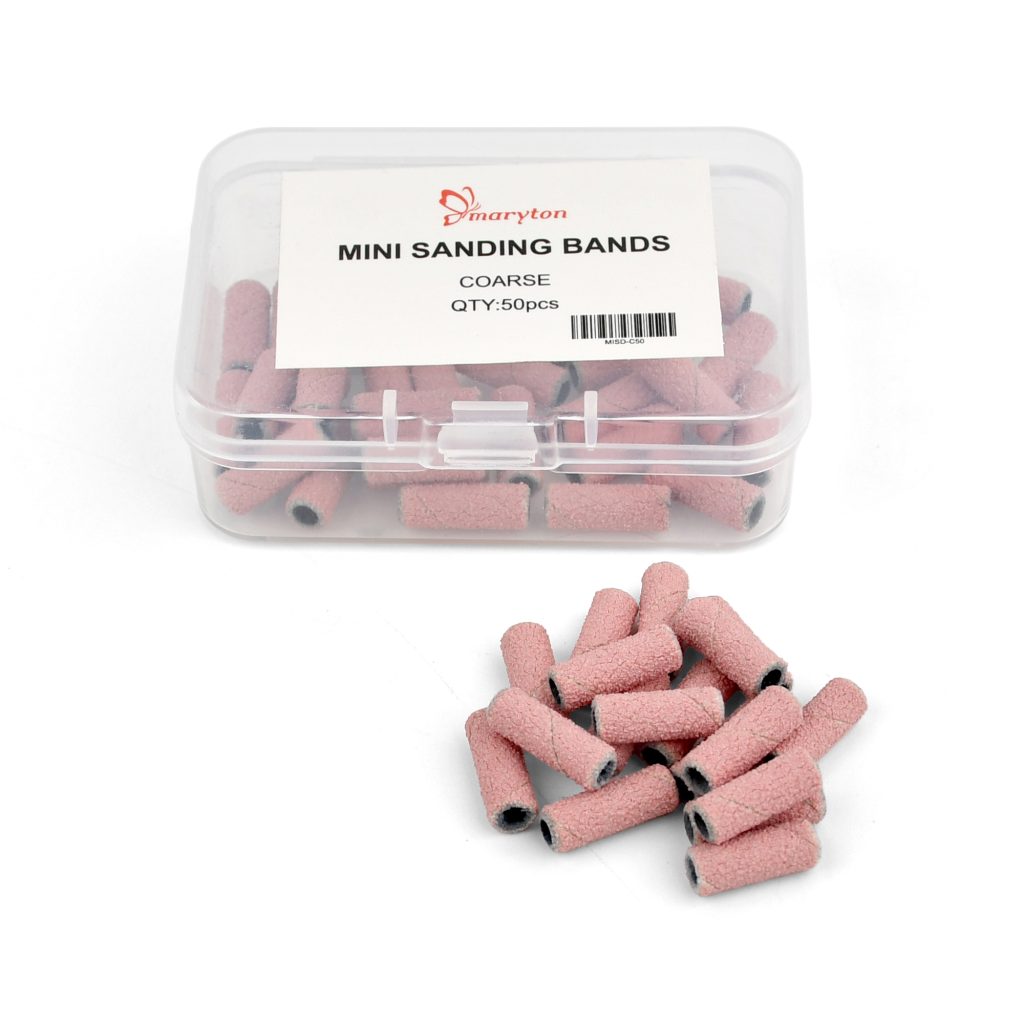
Not all bits are created equal. They come in various materials and shapes, each designed for a specific task.
By Material:
- Carbide: The most popular and durable. Their textured, multi-fluted surfaces are excellent for efficient removal of acrylic, hard gel, and polygel without clogging easily. They are long-lasting and can be sanitized.
- Ceramic: Known for being gentle. They generate less heat and friction, making them ideal for working on natural nails, cuticle care, and fine detailing. They are less abrasive than carbide.
- Diamond: Coated with diamond dust, these bits offer a smooth, consistent grit. They are perfect for refining surfaces, smoothing edges, and buffing. They are often used for final touches.
By Shape & Function:
- Barrel / Cylinder: For removing bulk product and smoothing large, flat surfaces.
- Tapered / Cone: Perfect for cuticle work, refining the sidewalls, and accessing hard-to-reach areas near the nail fold.
- Flame / Ball: Excellent for cuticle cleaning, precision work around the edges, and creating 3D nail art.
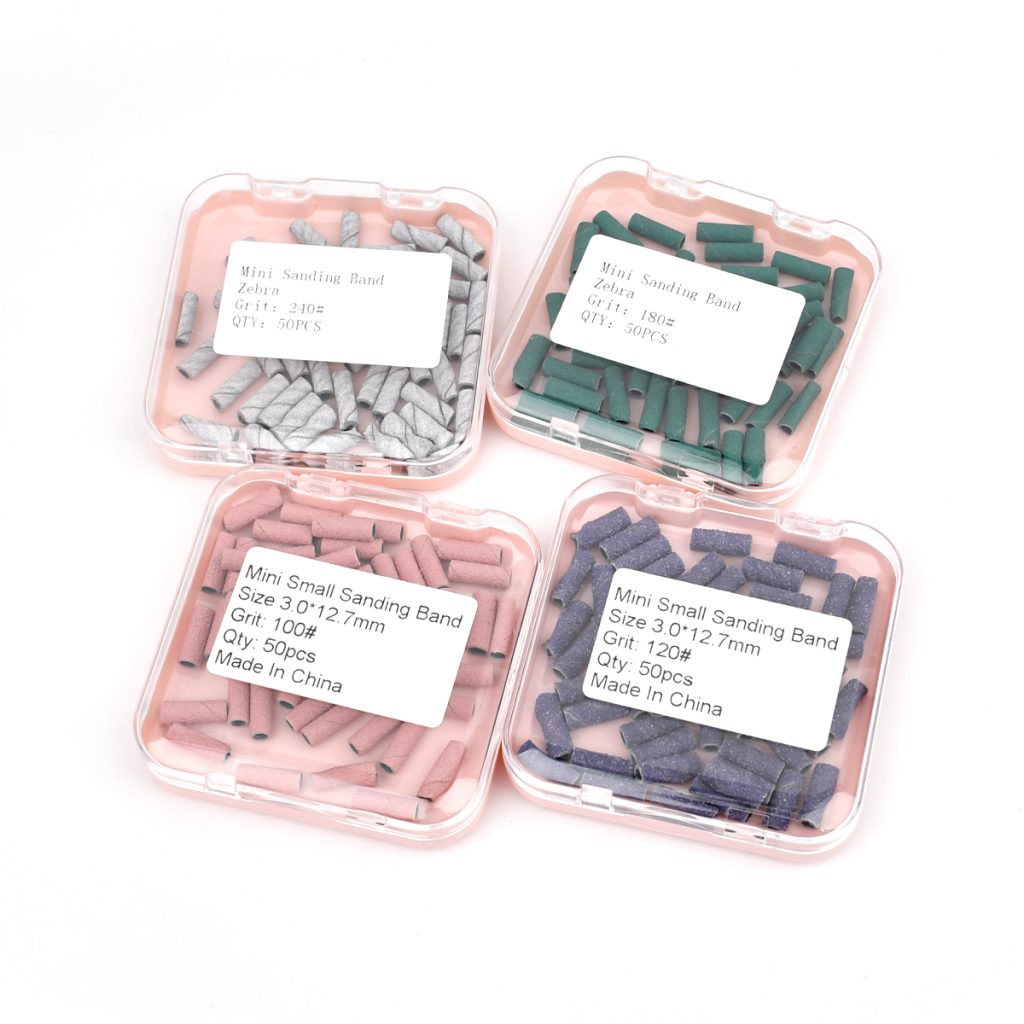
- Mandrel / Sanding Band: A metal shaft that holds disposable sandpaper sleeves, used for gentle buffing and polish removal.
- Cross-Cut Carbide: Features criss-cross grooves that aggressively remove product without grabbing or pulling.
What Are Nail Drill Bits Used For?
Their uses extend far beyond just removing old manicures.
- Prep Work: Gently buffing the natural nail surface to create adhesion for enhancements (light etching, not damaging).
- Cuticle Care: Safely pushing back and cleaning cuticles for a neat appearance.
- Shaping & Refining: Filing and perfecting the shape and length of artificial nails (acrylics, gels) with precision.
- Product Removal: The most common use—efficiently removing acrylic, hard gel, soft gel, or dip powder without harsh filing.
- Surface Smoothing: Leveling out lumps and bumps in enhancements before the final top coat.
- Finish Work: Buffing the nail to a high shine for a natural look or preparing it for polish.
How to Use Nail Drill Bits Correctly?
Safety and technique are paramount. Always start by sanitizing your bits.
1. Match the Bit to the Task: Use a coarse-grit carbide bit (like 80-100 grit) for heavy removal, a medium grit (120-180) for refinement, and fine grits (180+) for buffing natural nails.
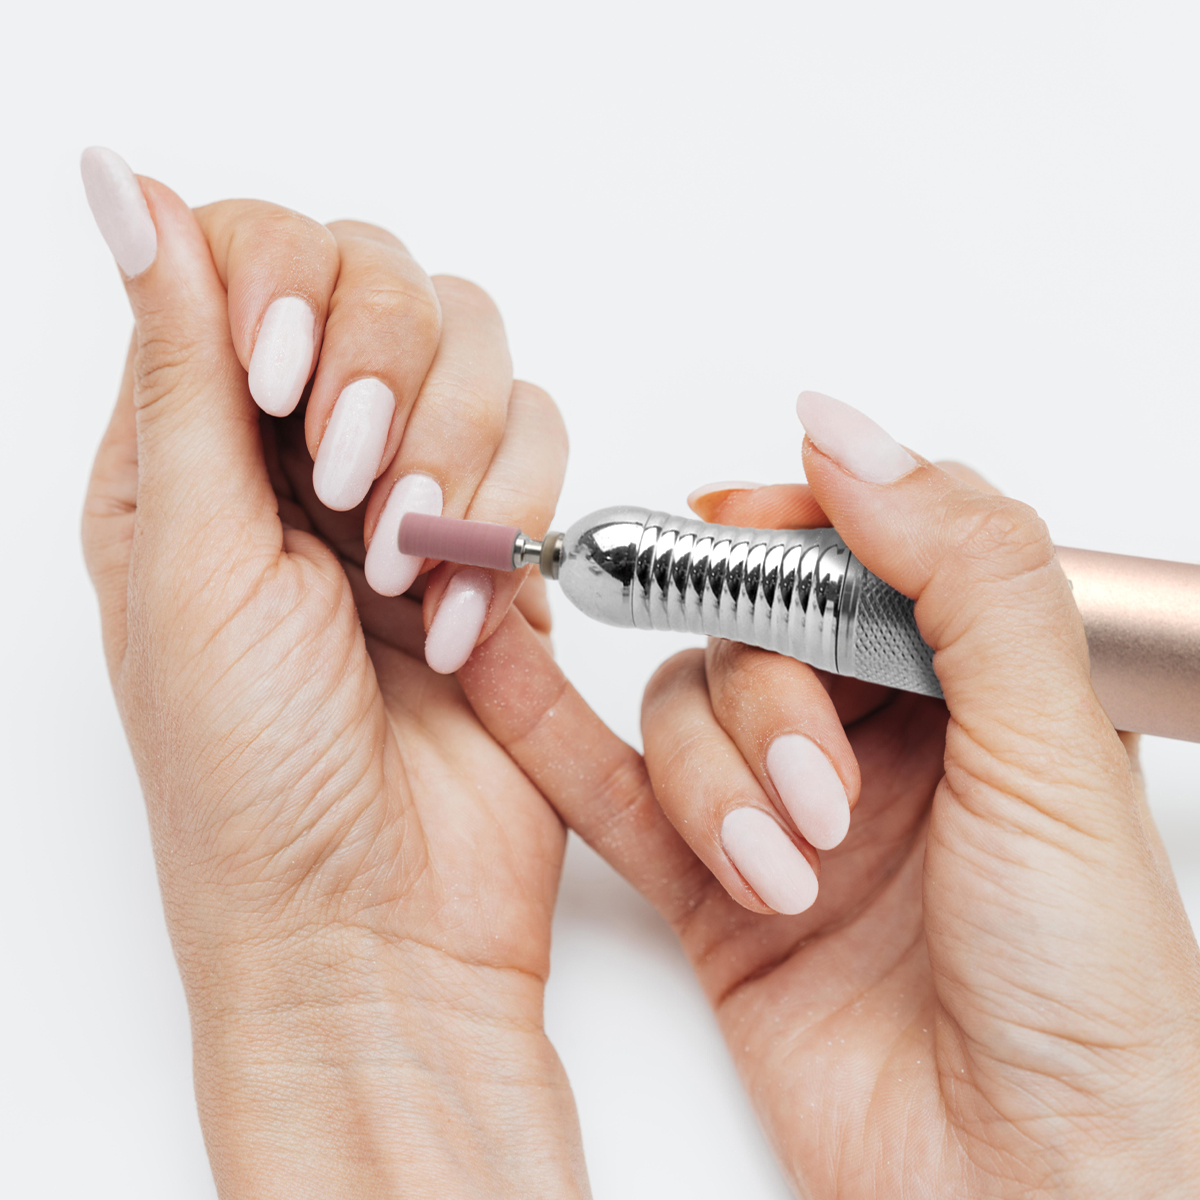
2. Hold the Drill Properly: Grip it like a pen for control. Rest your little finger on the client’s hand or table for stability.
3. Master the Movement: Never hold the bit in one spot. Use a light, feathering touch and keep it moving in a steady, side-to-side or circular motion. Let the bit do the work—do not apply pressure.
4. Mind the Angle & Speed: Work at a low to medium angle, almost parallel to the nail. Start with a low speed (especially on natural nails) and gradually increase only as needed for product removal. High speeds generate dangerous heat.
5. Direction is Key: When working on natural nails or near cuticles, drill from the side of the nail toward the center, not from the cuticle downward, to prevent damage.
Mistakes to Avoid When Using Bits for Removal
Using a drill incorrectly during removal is the primary cause of nail damage.
- The Cardinal Sin: Applying Too Much Pressure. This creates intense friction heat, leading to painful, burning sensations and irreversible thinning of the natural nail plate.
- Using the Wrong Grit: An overly aggressive bit (too coarse) on thin natural nails will instantly cause grooves and weakness.
- Ignoring the “Dust Layer”: Do not drill all the way down to the bare nail. Stop when a thin, milky layer of product remains. Gently hand-file or use a fine-grit bit to buff this last layer away. This acts as a crucial safety buffer.
- Drilling the Cuticle Area: Never use a rotating bit directly on or perpendicular to the delicate cuticle and eponychium area. This can cause cuts, tears, and infections.
- High Speed on the Natural Nail: This is a recipe for disaster. The heat and abrasiveness can sand away layers of your nail in seconds.
In conclusion, nail drill bits are powerful allies in nail care when treated with knowledge and respect. By choosing the right bit for the job, mastering a light touch and proper technique, and respecting the delicate biology of the natural nail, you can achieve beautiful, long-lasting results while maintaining the health and integrity of the nails underneath. Remember, the goal is enhancement, not erosion.
Read also: How to properly prepare your nails before applying nail polish?