I used to think “minimalist nails” meant boring nails. Plain color, no art, nothing interesting. Then I saw a friend’s manicure—a sheer nude base with a single tiny gold dot at the cuticle of each ring finger. It was subtle, sophisticated, and somehow more striking than any elaborate design I’d ever worn.
That’s when I understood: minimalist nail art isn’t about doing less. It’s about saying more with less.
Here’s everything I’ve learned about achieving that clean, elegant, effortlessly chic look—and making it last.
Why a Flawless, Clean Nail Surface Is Essential
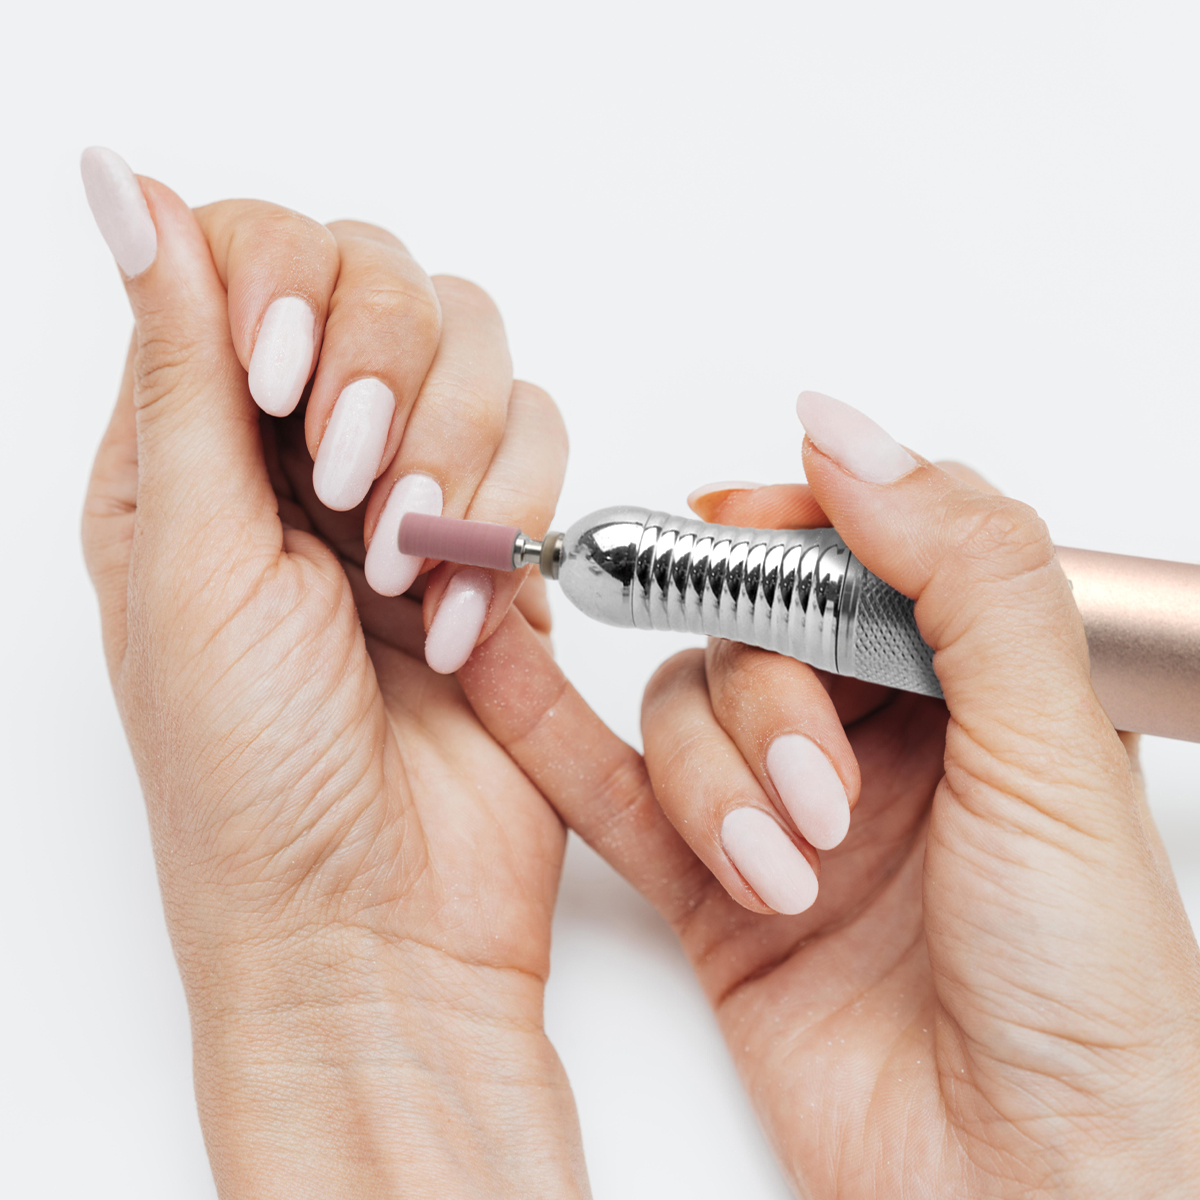
Before you even think about design, you need a perfect canvas. Minimalist art magnifies every imperfection. A bump, a ridge, or leftover cuticle tissue will stand out like a sore thumb.
Clean nails make the design pop. When the base is smooth and even, even the tiniest dot or line looks intentional and professional.
Healthy cuticles frame the art. Ragged, dry cuticles ruin any manicure, but especially minimalist ones where the eye has nowhere else to go.
No staining allowed. Yellowed or uneven natural nails will show through sheer polishes. Always use a base coat, and if your nails are stained, choose a slightly opaque nude or milky white base.
The Ideal Nail Shapes That Flatter Your Hands
The right nail shape elevates minimalist art from “plain” to “editorial.” Here’s what works best:
Almond
Softly tapered sides meeting at a rounded point. This shape elongates short fingers and makes wide nail beds appear narrower. It’s universally flattering and gives a feminine, elegant feel.
Oval
Similar to almond but less pointed. Perfect for those who want length without sharp tips. Oval softens wide fingers and looks graceful with simple line art.
Squoval (Square Oval)
Straight across with gently rounded corners. The most durable shape and ideal for shorter nails. It’s clean, modern, and works with every minimalist design.
Round
Following your natural fingertip curve. Best for very short nails or active lifestyles. Round nails look neat and unfussy—perfect for a single dot or a thin French tip.
What to avoid: Extreme stiletto or coffin shapes can overwhelm delicate minimalist designs. Save those for bold, maximalist art.
Minimalist Nail Trends That Elevate Your Style
You don’t need complex patterns to make a statement. These trends are proof that less is more.
The Micro French
A classic French tip but with the white line drawn ultra-thin—sometimes just a hairline at the very edge of the nail. Modern, fresh, and impossibly chic.
Negative Space
Leaving portions of the nail bare (usually in geometric shapes). A clear stripe down the center, a bare half-moon at the cuticle, or an unpainted triangle at the tip. The natural nail becomes part of the design.
Single Accent Elements
One small detail per nail: a tiny dot at the cuticle, a single thin line down the center, a minimalist star or crescent moon on the ring finger. Repetition across all nails creates rhythm.
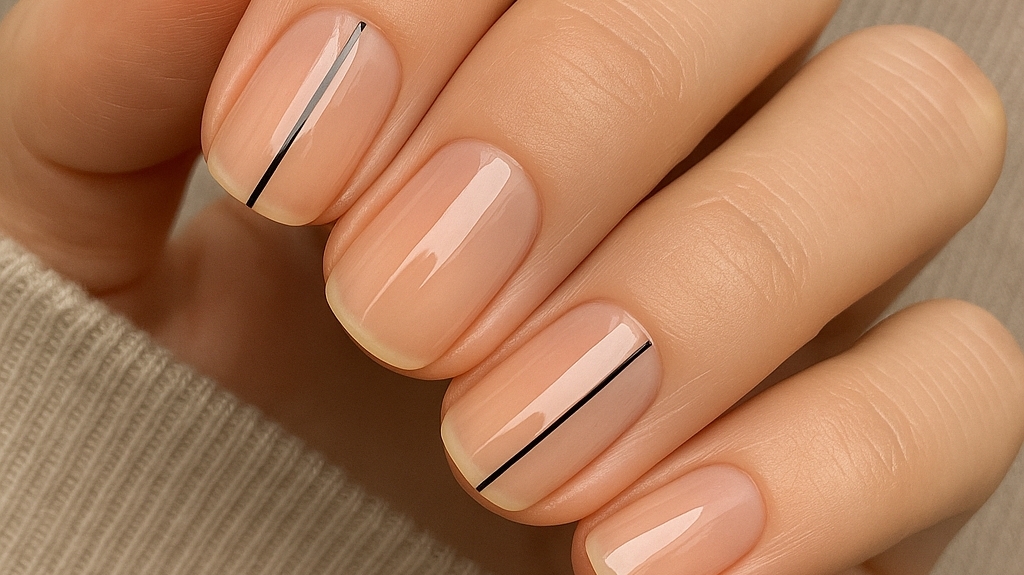
Geometric Lines
Thin, straight lines—vertical, horizontal, or diagonal. One line per nail in black, white, or metallic gold. The precision is the art.
Barely-There Metallics
A sheer wash of chrome or iridescent shimmer over a nude base. It catches light without shouting. Think “ethereal,” not “disco ball.”
The “Glazed Donut” Finish
A soft, pearlescent sheen over a milky base. Popularized by celebrities, this look is clean, luminous, and endlessly elegant.
Asymmetrical Details
One nail gets a tiny design while others remain bare. Or the design shifts position from nail to nail (dot on pinky, line on ring, negative space on middle). It feels curated, not random.
How to Add Freshness to Minimalist Nails While Staying Elegant
Minimalist doesn’t have to mean repetitive. Here’s how to keep it interesting:
Play with placement. Move the dot from the cuticle to the center, or to the tip. Change the angle of a line from vertical to diagonal.
Mix finishes. A matte top coat over the whole nail, with one tiny glossy dot. Or a sheer base with a chrome line. Contrast in texture adds depth.
Use unexpected colors. Instead of black or white, try deep burgundy, soft sage, or navy on a nude base. The design stays simple; the color does the talking.
Try micro details. A design so small you have to look closely to see it—a tiny heart, a single letter, a miniature star. It feels like a secret.
Incorporate your natural nail. Negative space designs let your nail bed be part of the art. It’s personal, unique, and never looks dated.
Add a single embellishment. One tiny crystal at the base of the ring finger. Not a row, not a cluster—just one. It reads as luxurious, not overdone.
Professional Secrets for Long-Lasting Minimalist Manicures
Minimalist art often uses sheer bases and delicate lines, which can be less forgiving than opaque colors. Here’s how to make them last:
Prep Like a Pro
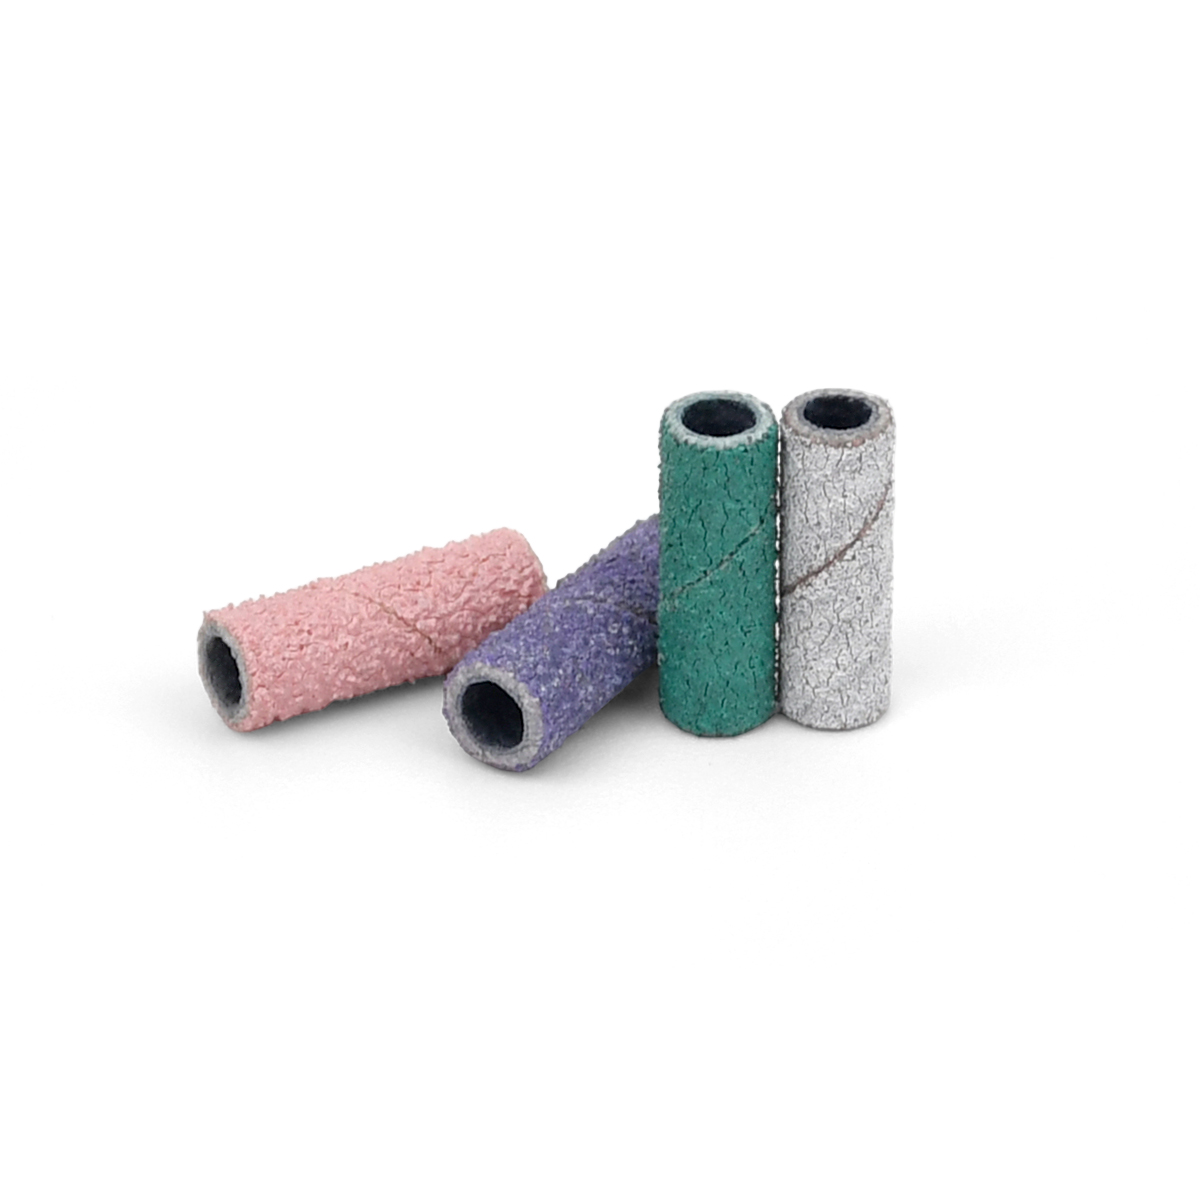
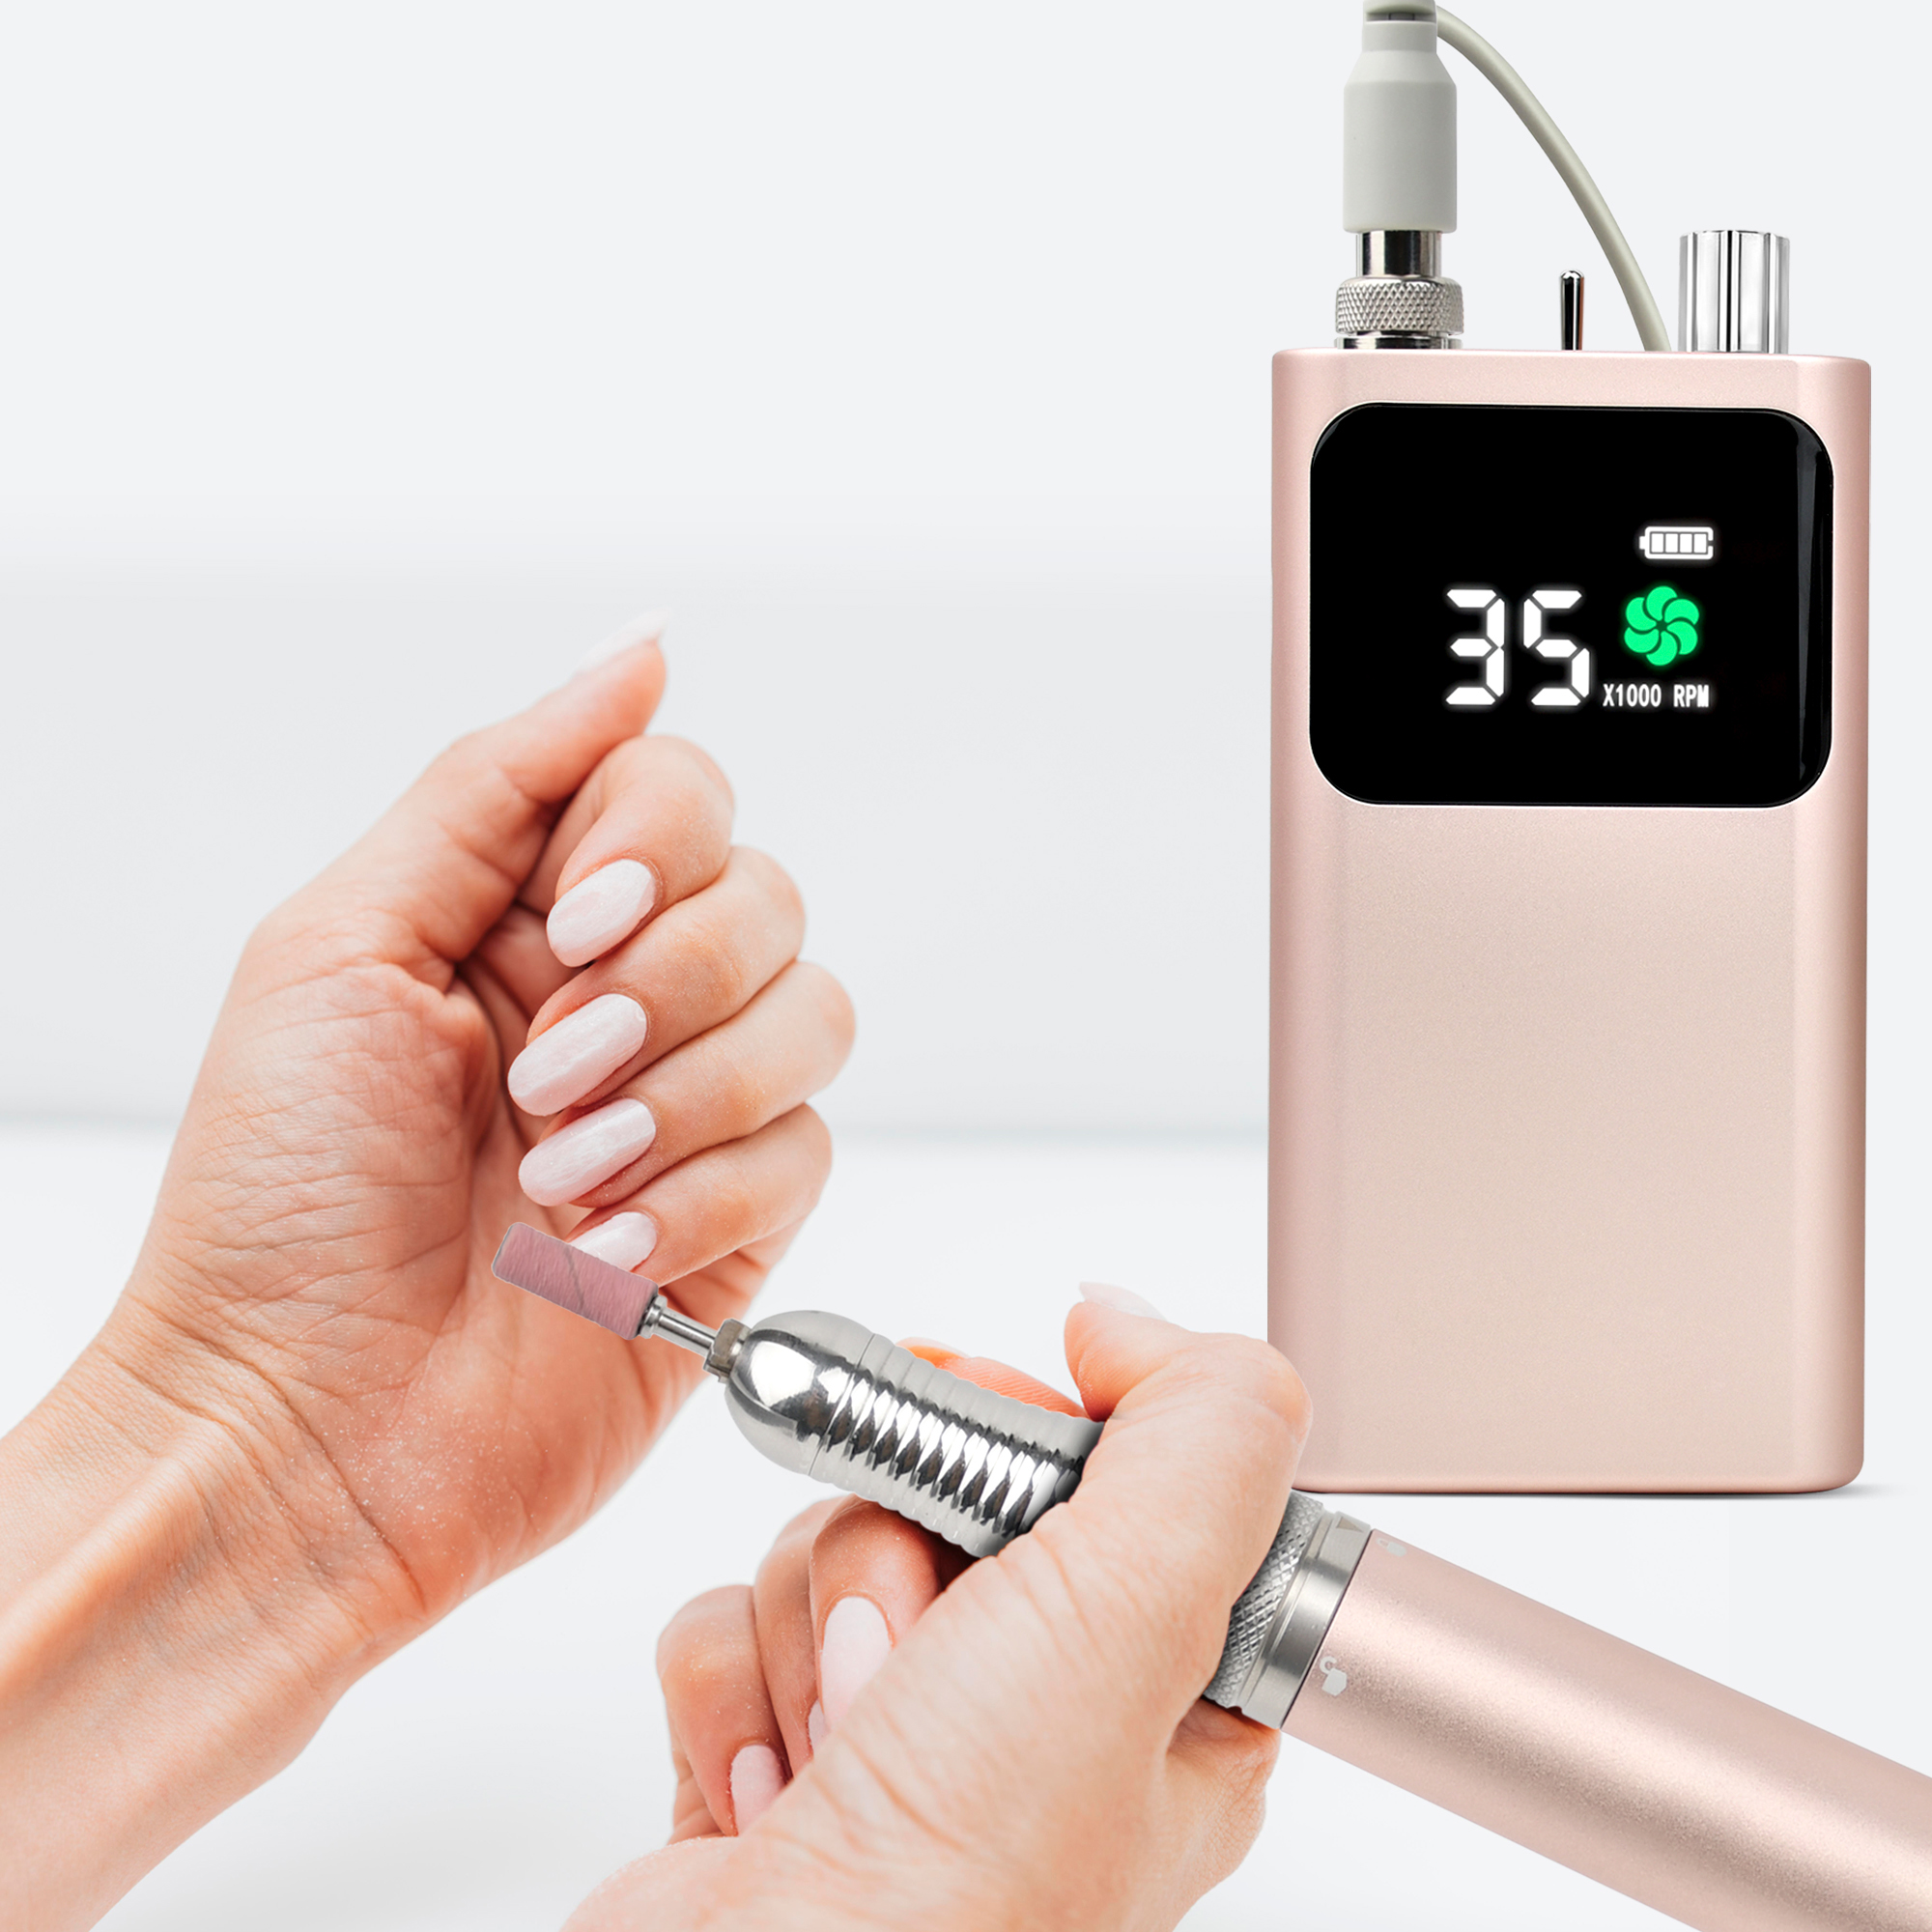
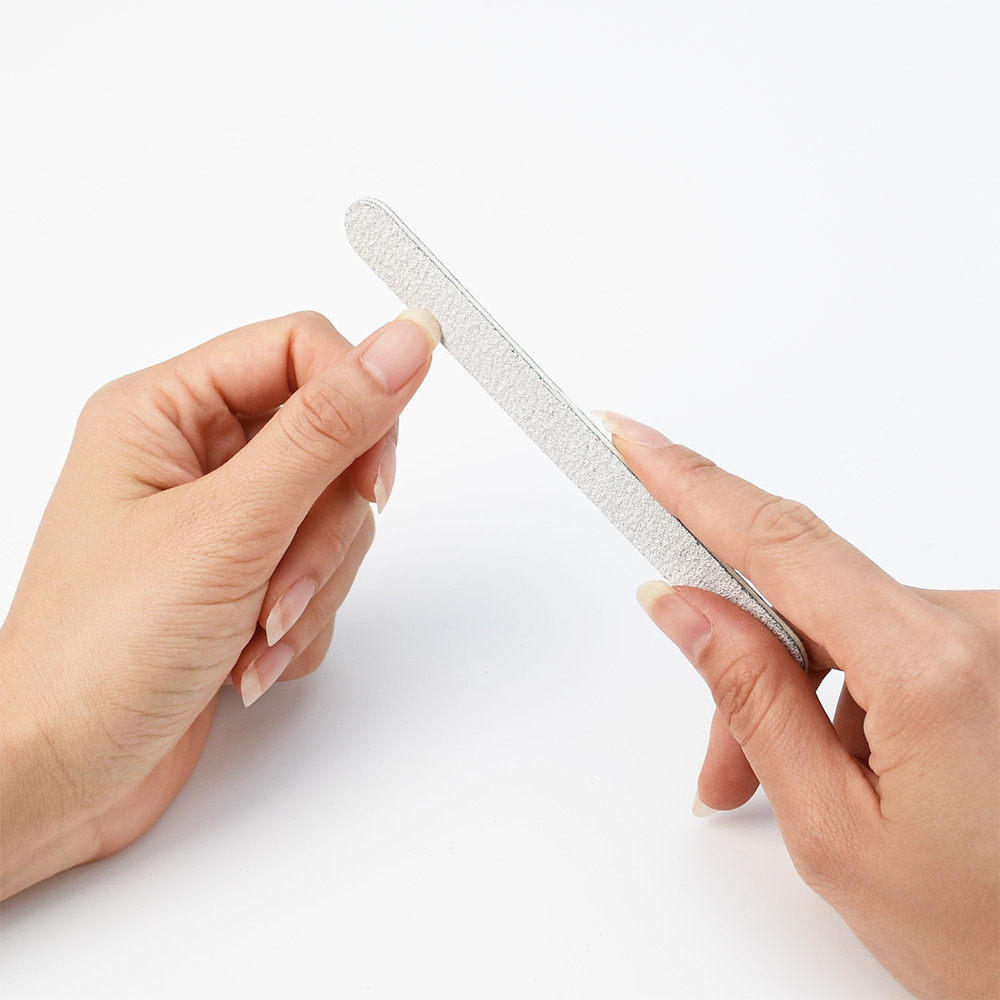
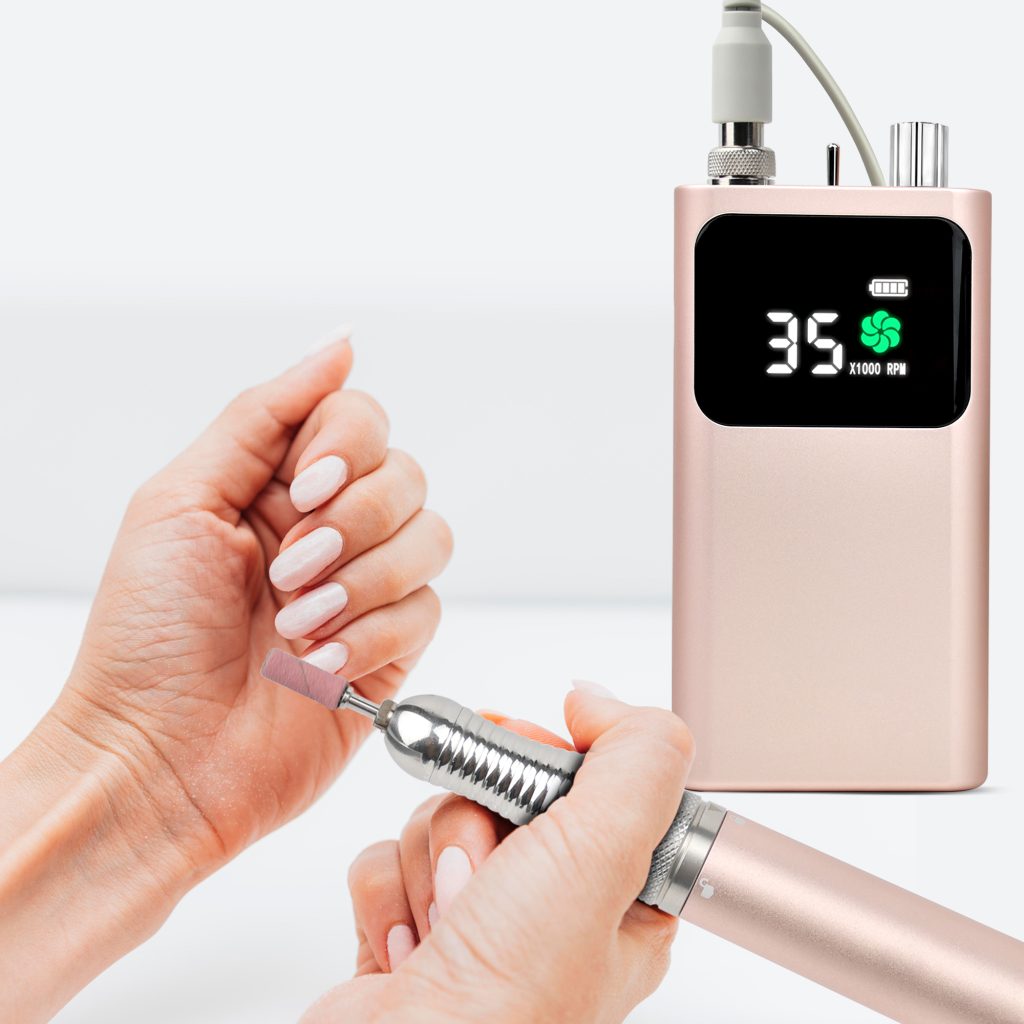
Take out your e-files, push cuticles, buff lightly, dehydrate thoroughly. Any oil or dust will cause lifting, especially under sheer polish where lifting is more visible.
Use a Sticky Base Coat
A rubberized or “sticky” base coat grips the nail and provides a smooth foundation. This is non-negotiable for sheer polishes.
Thin Layers, Always
Two or three thin coats of base and color beat one thick coat. Thick layers peel and look lumpy under minimalist designs.
Seal Those Edges
Cap the free edge with every layer—base, color, top coat. Unsealed tips are where chipping starts.
Invest in a Quality Top Coat
A good top coat adds shine and durability. For minimalist art, a glossy finish makes lines and dots pop. For matte designs, use a matte top coat but apply it carefully—matte shows every imperfection.

Let Each Layer Dry (or Cure) Fully
For regular polish, wait 2-3 minutes between coats. For gel, cure for the full recommended time. Rushing creates bubbles and smudges.
Clean Up Edges Immediately
Use a thin brush dipped in remover to perfect the cuticle line. Crisp edges make minimalist designs look professional.
Apply Cuticle Oil Daily
Hydrated cuticles prevent lifting at the base. Oil also keeps the skin around your nails looking clean and healthy, which frames your minimalist art beautifully.
Touch Up Top Coat Every Few Days
A fresh layer of top coat (regular polish, not gel) refreshes shine and seals the edges before they lift. This single habit adds days to your manicure.
Common Mistakes That Ruin Minimalist Nails
Skipping base coat. Sheer polishes stain nails without protection. Always.
Using dull tools for art. A dotting tool with a rough edge creates uneven dots. Invest in quality nail supplies and use alternatives like bobby pins or toothpicks.
Overcomplicating the design. Minimalist means minimal. One or two elements per nail. More than that, and it’s not minimalist anymore.
Ignoring nail shape. The wrong shape fights the design. Match shape to your hand and the art style.
Skipping cleanup. A single stray line of polish on skin ruins the clean aesthetic. Take time to perfect edges.
The Bottom Line
Minimalist nail art is proof that elegance doesn’t require complexity. A clean surface, a flattering shape, and one thoughtful detail create a manicure that’s modern, sophisticated, and endlessly wearable.
Whether you choose a micro French tip, a single gold dot, or a negative-space line, the key is intentionality. Every element should have a purpose. Nothing should feel accidental.
Your nails can be quiet and still make a statement. That’s the beauty of minimalism.
Read also: Nail Drill Bits: Your Guide to Types, Uses, and Safe Practices