If you’ve ever looked at a collection of nail drill bits and felt completely lost, you’re not alone. With so many colors, shapes, and materials, choosing the right one can be confusing. But understanding nail drill bits is essential for achieving professional results while keeping natural nails healthy and damage‑free.
Understanding the Color‑Coded Ring System
The colored rings on nail drill bits aren’t just decorative. They serve as a standardized system to indicate the grit or abrasiveness of the bit, helping you quickly identify the right tool for the task. Here’s what each color means:
- Yellow (Extra Fine / XF): The finest grit available. Use for delicate finishing work, smoothing the nail surface, and gentle cuticle care. Yellow bits remove minimal material and are safest for work on natural nails.
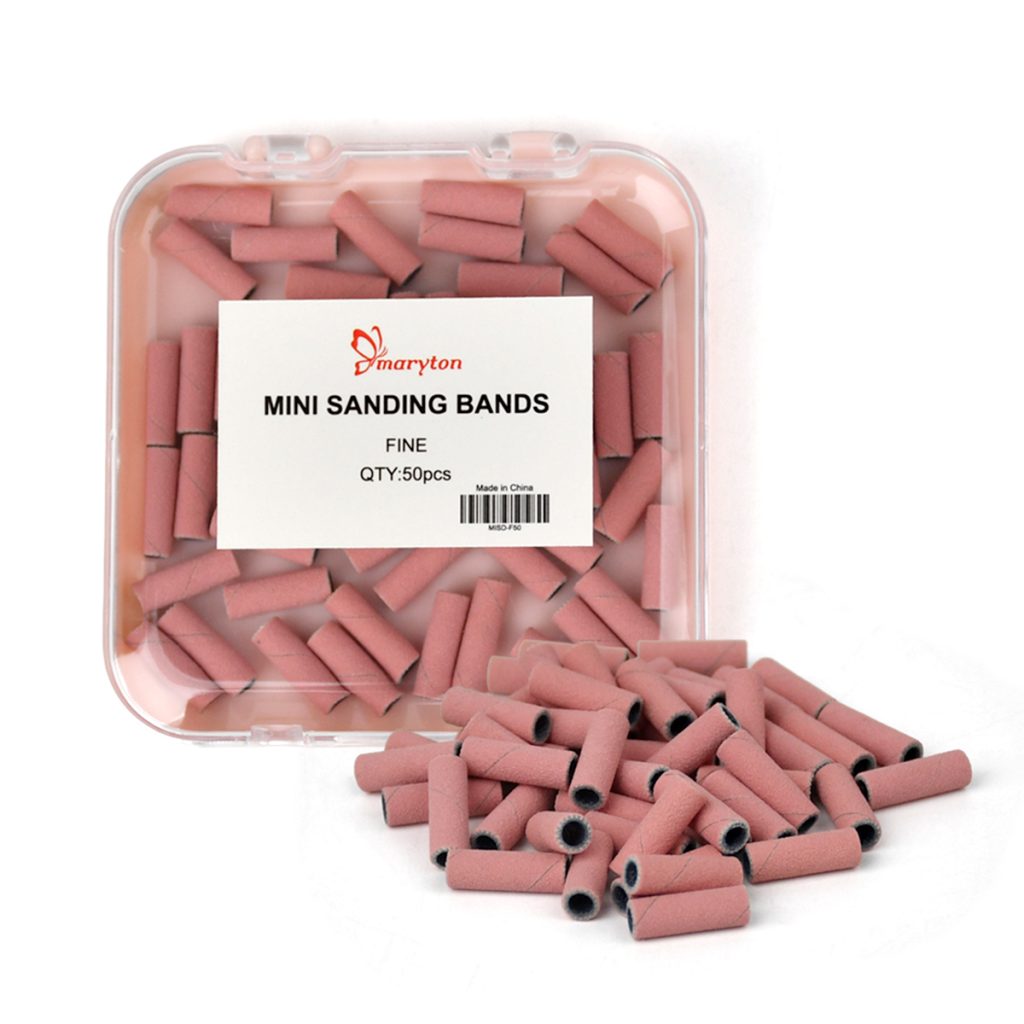
- Red (Fine / F): Slightly more abrasive than yellow but still gentle enough for natural nails. Ideal for preparing the natural nail plate, fine removal of gel or acrylic layers, and smoothing uneven surfaces.
- Blue (Medium / M): The versatile workhorse of nail bits. Perfect for shaping and shortening artificial nails, removing thin layers of gel or acrylic, and general processing. Every professional kit needs a few blue bits.
- Green (Coarse / C): Significantly more abrasive. Best for rapidly removing gel or acrylic material, removing thick layers, and preparatory work before refills. Use with caution — these require a skilled hand.
- Black (Extra Coarse / XC): The most aggressive grit. Used for intensive demolition work, removing very thick or hard layers, and trimming toenails during pedicures. Black bits should only be used by experienced professionals.
How to Choose the Right Bit for the Job
Selecting the correct bit depends on three factors: material, shape, and grit.
Material Matters
- Diamond bits: Made from natural or synthetic diamond particles adhered to a metal shaft. These are the only bits that should touch your natural nail plate or skin. They work like a fine file, gently exfoliating rather than cutting. Perfect for cuticle work and natural nail prep.
- Carbide bits: Machined from tungsten carbide with sharp “flutes” that shave product off like a cheese grater. Extremely durable and efficient for removing hard gel, acrylic, and taking down bulk. Never use carbide bits on natural nails or skin — they are too sharp and will cut you.
- Ceramic bits: Made from zirconia ceramic, a material that naturally resists heat buildup. They generate less heat than metal bits, making them excellent for sensitive clients or extended use. Ceramic bits remove gel polish and soft acrylic with reduced discomfort.
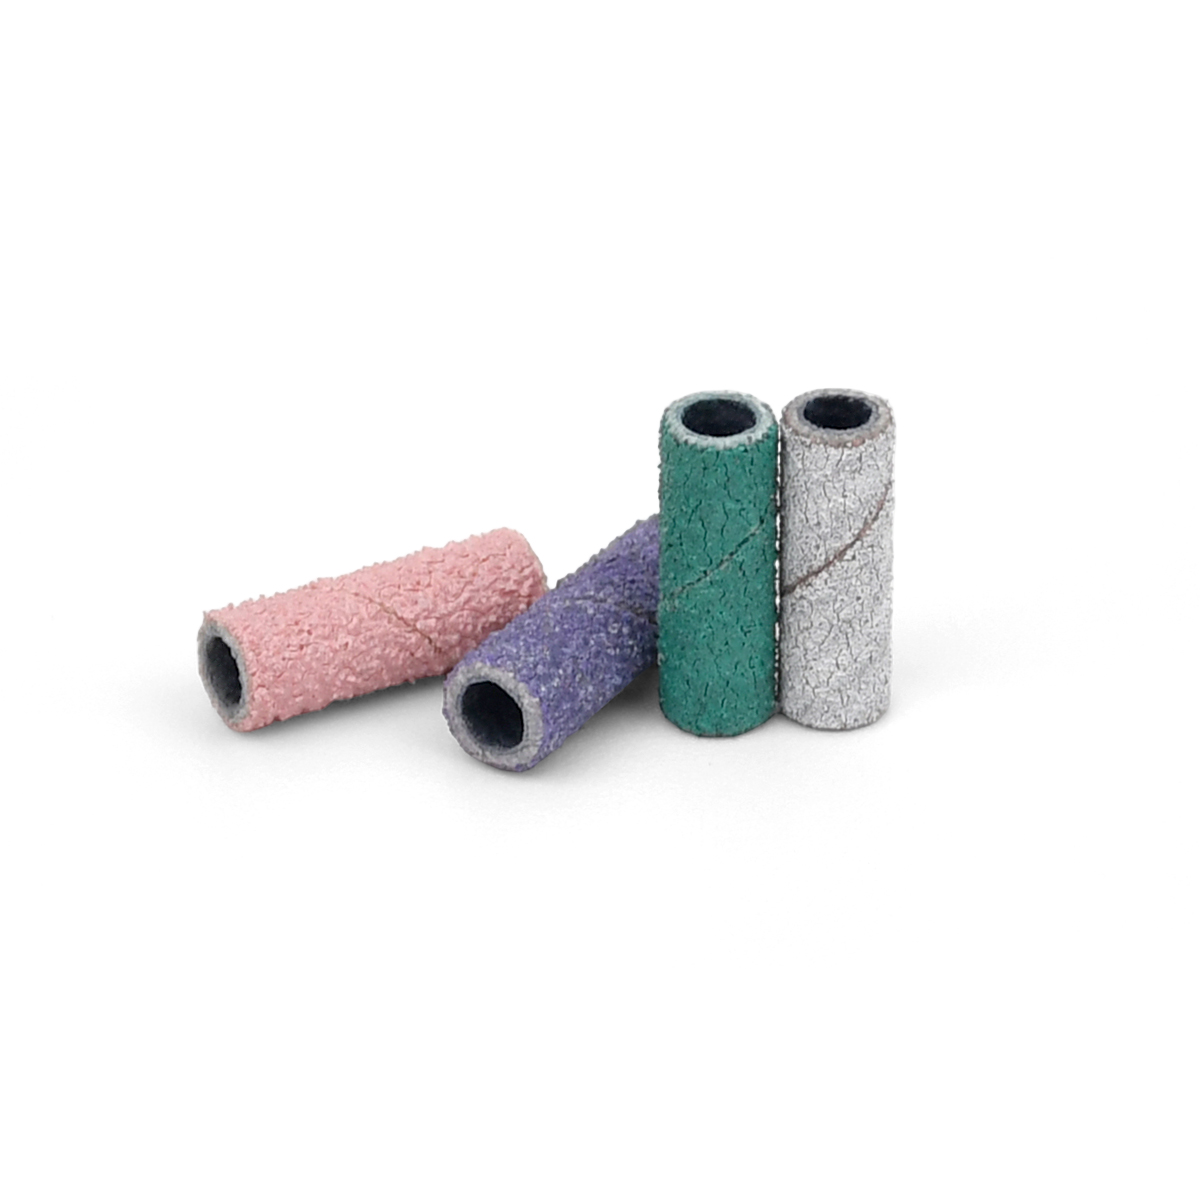
- Sanding bands: Disposable abrasive sleeves that slide onto a mandrel. They are perfect for beginners: affordable, single‑use for hygiene, and excellent for shaping, smoothing, and removing surface shine from natural nails.
The Golden Rule of Bit Materials
If the bit will touch natural nail or skin, use diamond (or a fine sanding band). If it’s removing artificial product (acrylic, hard gel), use carbide or ceramic.
Selecting the Right Shape for Each Nail Area
Different bit shapes are designed for different parts of the nail:
- Safety Bit (rounded top): The most essential bit for beginners. The rounded tip prevents accidental cuts, making it perfect for safe cuticle work and removing dead skin around the nail without damaging tissue. Use on cuticle areas and natural nail.
- Barrel Bit (cylindrical): The all‑purpose shaping tool. Use for reducing length and shaping acrylic and gel enhancements, as well as removing bulk product. Its flat surface provides even filing.
- Cone Bit (tapered): Great for cleaning under the nail and reaching tight sidewall corners. The tapered shape allows precise control in confined spaces.
- Flame Bit (teardrop‑shaped): Designed for cuticle work and cleaning the area around the nail folds. The pointed tip accesses tight spaces without damaging surrounding skin.
- Ball Bit (spherical): Ideal for gentle cuticle work and removing dead skin from the nail plate. The rounded ball shape is safe and effective for exfoliating cuticle tissue.
- Needle Bit (fine point): For the most detailed work around the cuticle and under the nail. Perfect when you need extreme precision in tight areas.

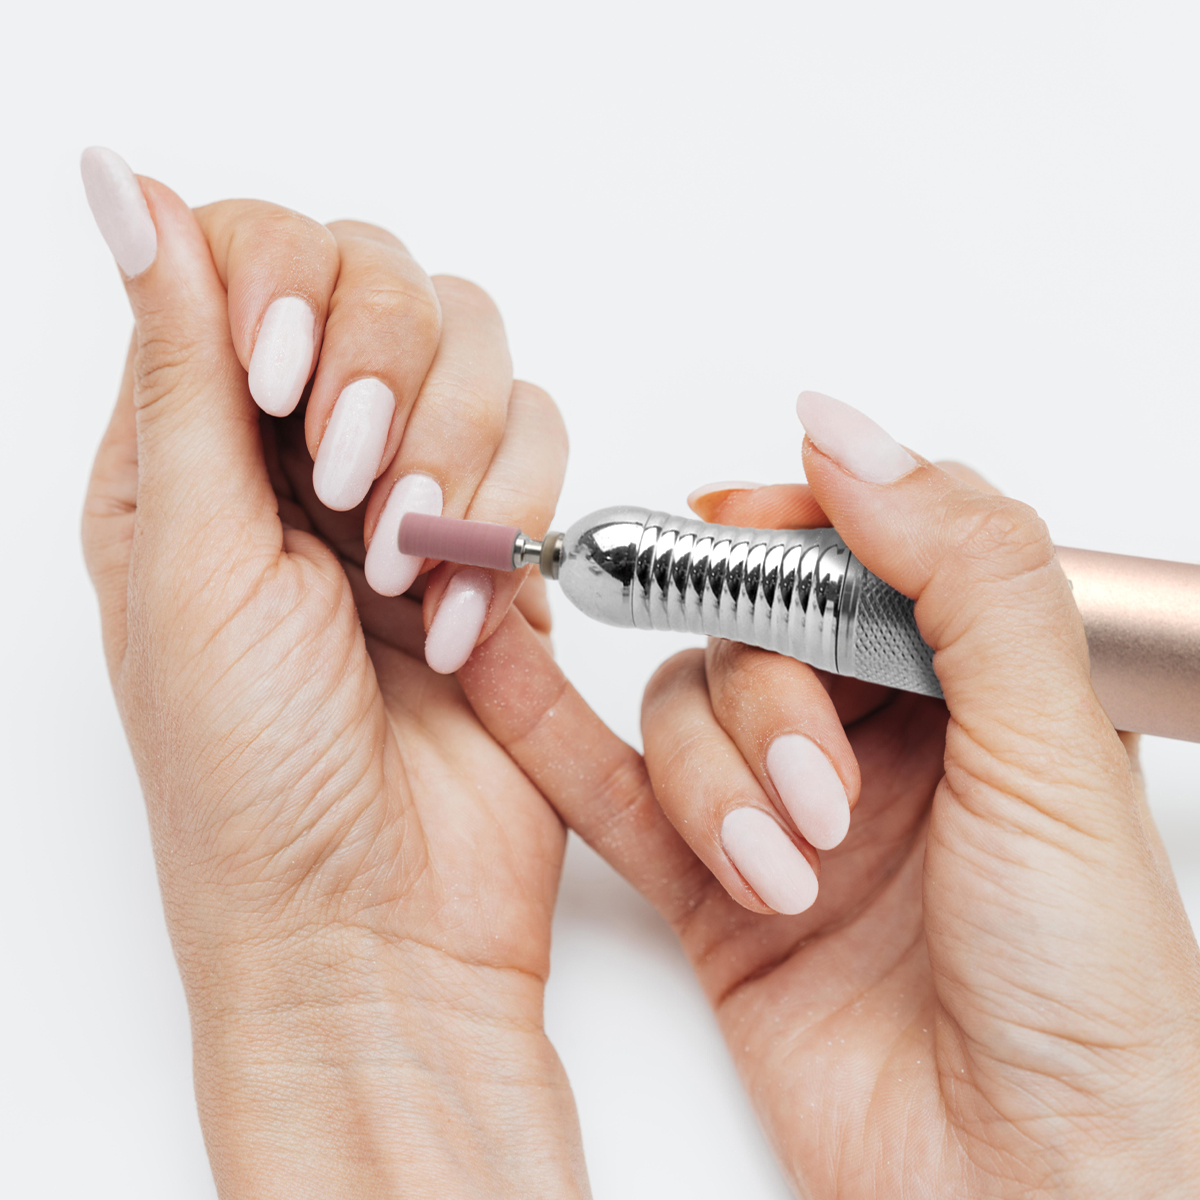
How to Operate Nail Drill Bits Correctly
Proper technique protects both you and your client’s nails. Follow these guidelines every time you use an e‑file:
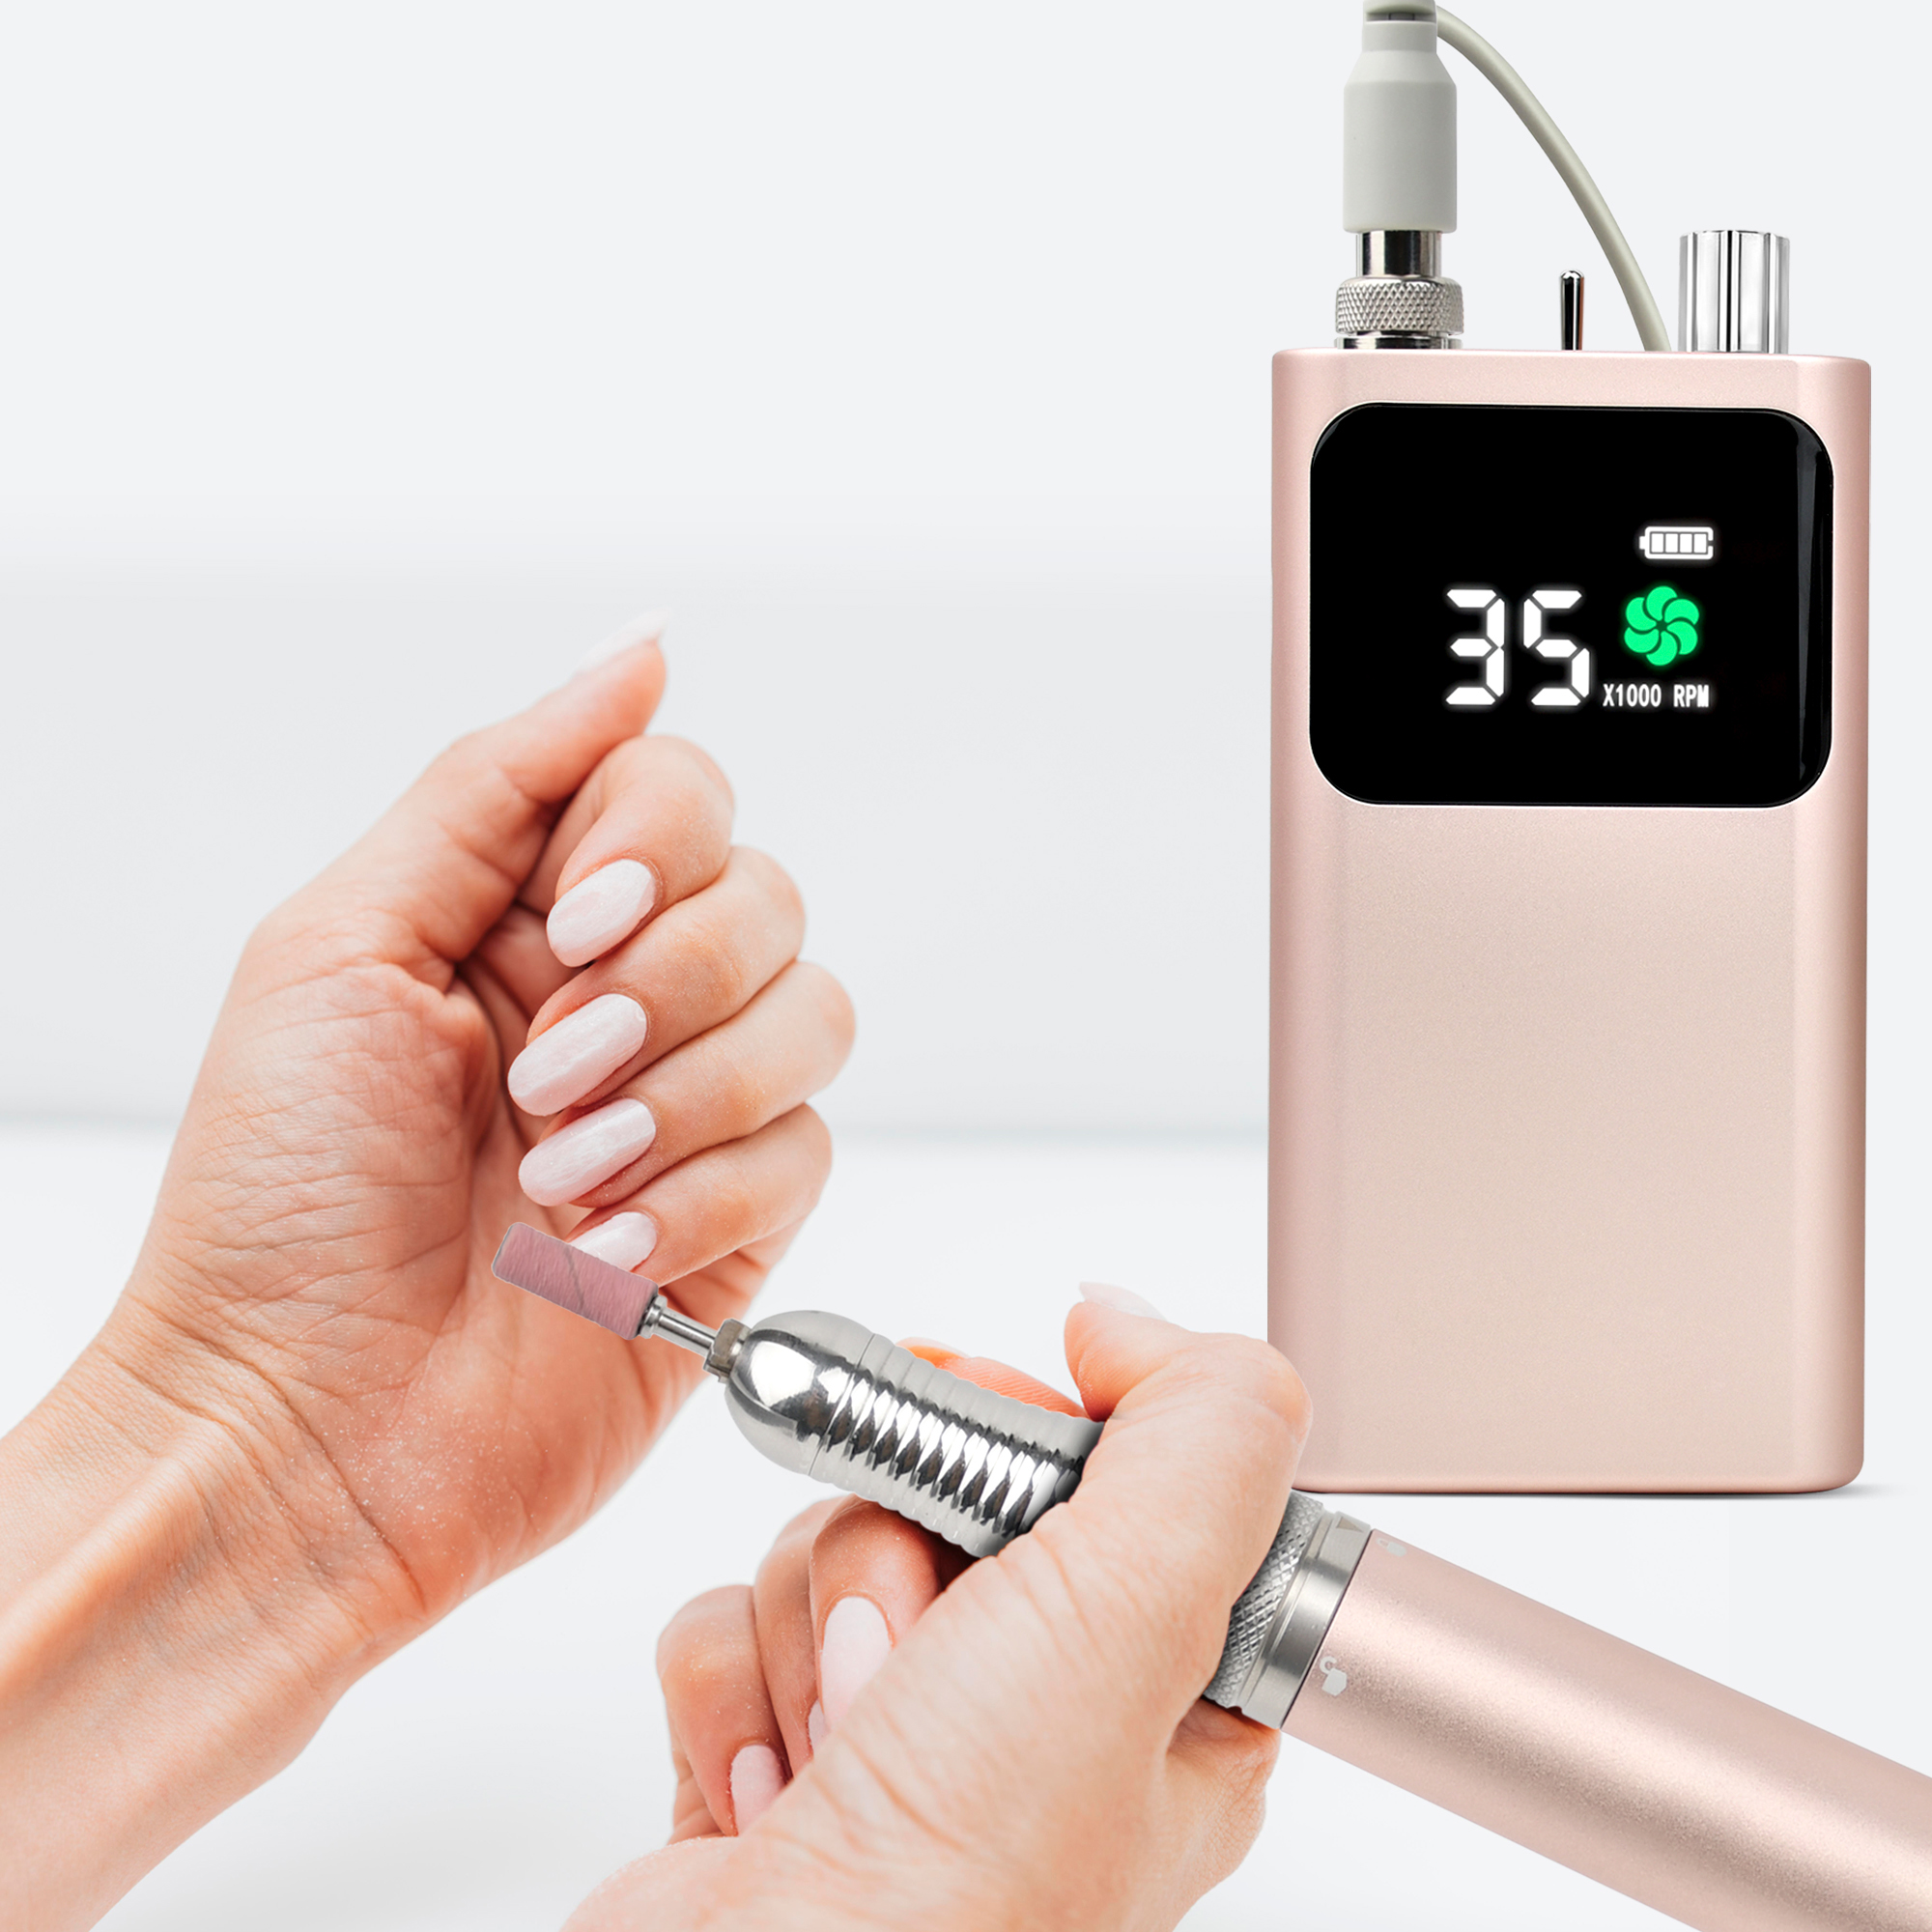
- Match speed to the task. For cuticle cleaning, use 5,000–10,000 RPM. For gel polish removal, 10,000–15,000 RPM. For acrylic removal, 15,000–20,000 RPM. For final buffing, 5,000–8,000 RPM is ideal. For natural nails, an RPM of around 15,000 is generally sufficient. Enhancements like acrylic require a machine with 25,000 RPM or higher.
- Keep the bit flat and parallel. Hold the bit against the nail surface at a low angle. Cylindrical bits should be used parallel to the nail plate. Angling the bit causes the edge to dig in and create grooves.
- Use light pressure. Let the bit do the work. Pressing too hard creates friction heat, removes product too quickly, and can burn the nail bed. Apply about 5–8 grams of pressure — lighter than a dime.
- Keep the bit moving constantly. Never hold the bit in one spot for more than a second. Use smooth, sweeping strokes across the nail. Staying in one place concentrates heat and can damage the nail plate.
- Start at a lower speed than you think you need. You can always increase speed gradually. It’s much easier to speed up than to repair damage from going too fast.
How to Prevent Overheating
Heat is one of the biggest risks when using an e‑file. Excessive friction can cause pain and permanent damage to the nail matrix. Here’s how to keep things cool:
- Choose heat‑resistant bits. Ceramic bits naturally resist heat buildup and are excellent for sensitive clients or extended drilling sessions. Carbide bits also generate less heat than diamond bits.
- Maintain the correct speed. The coarser the bit, the lower the speed should be to avoid heat generation. Coarse and extra coarse bits require slower RPM settings.
- Use a lifting motion. After 15 to 30 seconds of continuous contact, lift the bit away from the nail and let it spin freely. This dissipates heat from both the bit and the nail.
- Apply cuticle oil before filing. A light layer of oil helps minimize friction, which keeps the temperature down during filing.
- Work in short bursts rather than long, continuous passes. This gives the nail time to cool between strokes.
- Never use a dull or worn bit. Dull bits create more friction than sharp ones, generating unnecessary heat. Replace bits when they show signs of wear.
A Quick Reference: What Bit for What Job?
| Task | Recommended Bit Shape | Grit | RPM |
| Cuticle cleaning | Safety, Flame, Ball | Fine/Extra Fine | 5,000-10,000 |
| Natural nail prep | Diamond safety/barrel | Fine | 8,000-12,000 |
| Gel polish removal | Ceramic barrel | Medium/Fine | 10,000-15,000 |
| Acrylic removal | Carbide barrel | Coarse/Medium | 15,000-20,000 |
| Shaping/shortening | Sanding band | Medium | 10,000-15,000 |
| Surface smoothing | Sanding band | Fine | 8,000-12,000 |
| Final buffing | Silicone polisher | Extra Fine | 5,000-8,000 |
The same color‑coded system works across nearly all professional drill bits — once you learn the sequence, you’ll never be confused by a bit collection again. Combine that knowledge with proper technique, and your e‑file will become the most versatile, time‑saving tool in your nail kit.
Have a favorite nail drill bit or a technique that works well for you? Share it in the comments — I’d love to hear what works in your practice.
Read also: Minimalist Nail Art: Elegance That Speaks Volumes